
This guide connects QAction to Visual Studio Code so that the chat assistant built into VS Code can work with your real QAction data — your tasks, your documents, your records — instead of guessing.
Once connected you can ask things like "what's in my inbox?", "find the contracts filed under Vendor Management", or "complete task 4821 and add a note", and VS Code will do it in QAction on your behalf.
The connection is made through an MCP server. You don't need to install or run anything — QFlow already hosts it for your environment.
In QAction, click your user icon (top right) → My Account → Connected Apps. The "Connect a new app" card shows your environment's MCP server URL with a copy button.
Connected apps appear in your Connected Apps list, where you can change or revoke their access at any time.
Time required: about five minutes. Command line required: none.
What is MCP? Model Context Protocol — the standard way an AI assistant asks another system for data or actions. QAction speaks it; VS Code speaks it. This guide just introduces them.
Learn more about QAction's MCP server here.
Before you begin
You'll need:
- Visual Studio Code, reasonably up to date. Download it from code.visualstudio.com if you don't have it. MCP support is built in — there is no extension to install.
- A QAction account you can sign in to in a browser.
- A folder on your computer to use as the project. It can be an empty folder; it just gives VS Code somewhere to remember this connection. Create one called something like
qactionon your Desktop if you don't already have one.
A note on where the settings live, because it matters later:
Step 1 — Open your project folder
Start VS Code, then File → Open Folder… and pick the folder you set aside.
The folder's name appears at the top of the Explorer panel on the left. In the screenshots throughout this guide, the folder is called qaction.mcp — yours will show your own folder's name.
Step 2 — Check that MCP support is switched on
This is usually already on, but confirm to save confusion later.
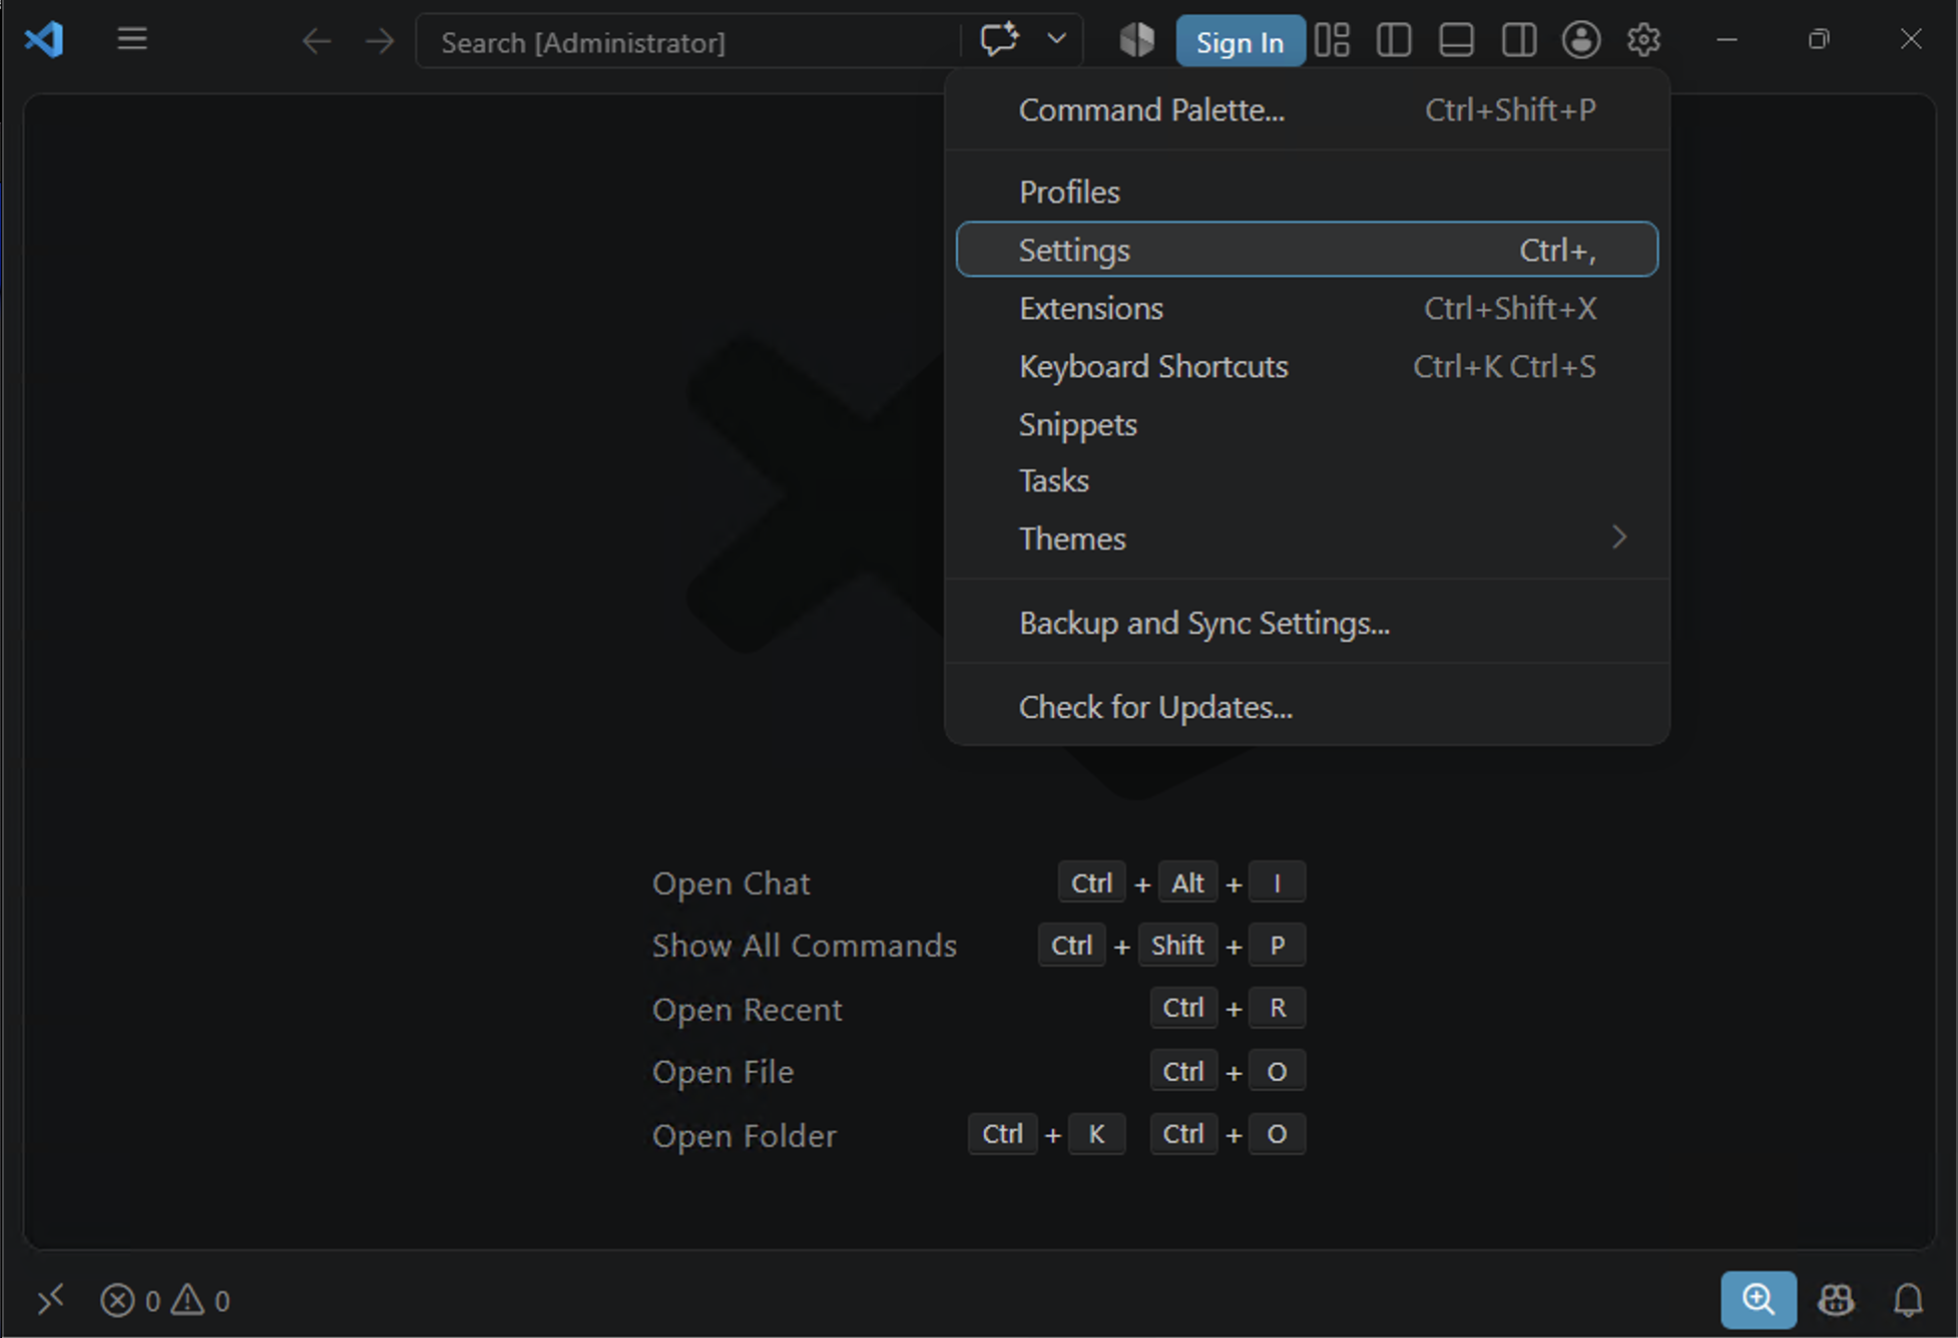
Open the menu (the ☰ icon at the top-left, or File on Windows) and choose Settings.
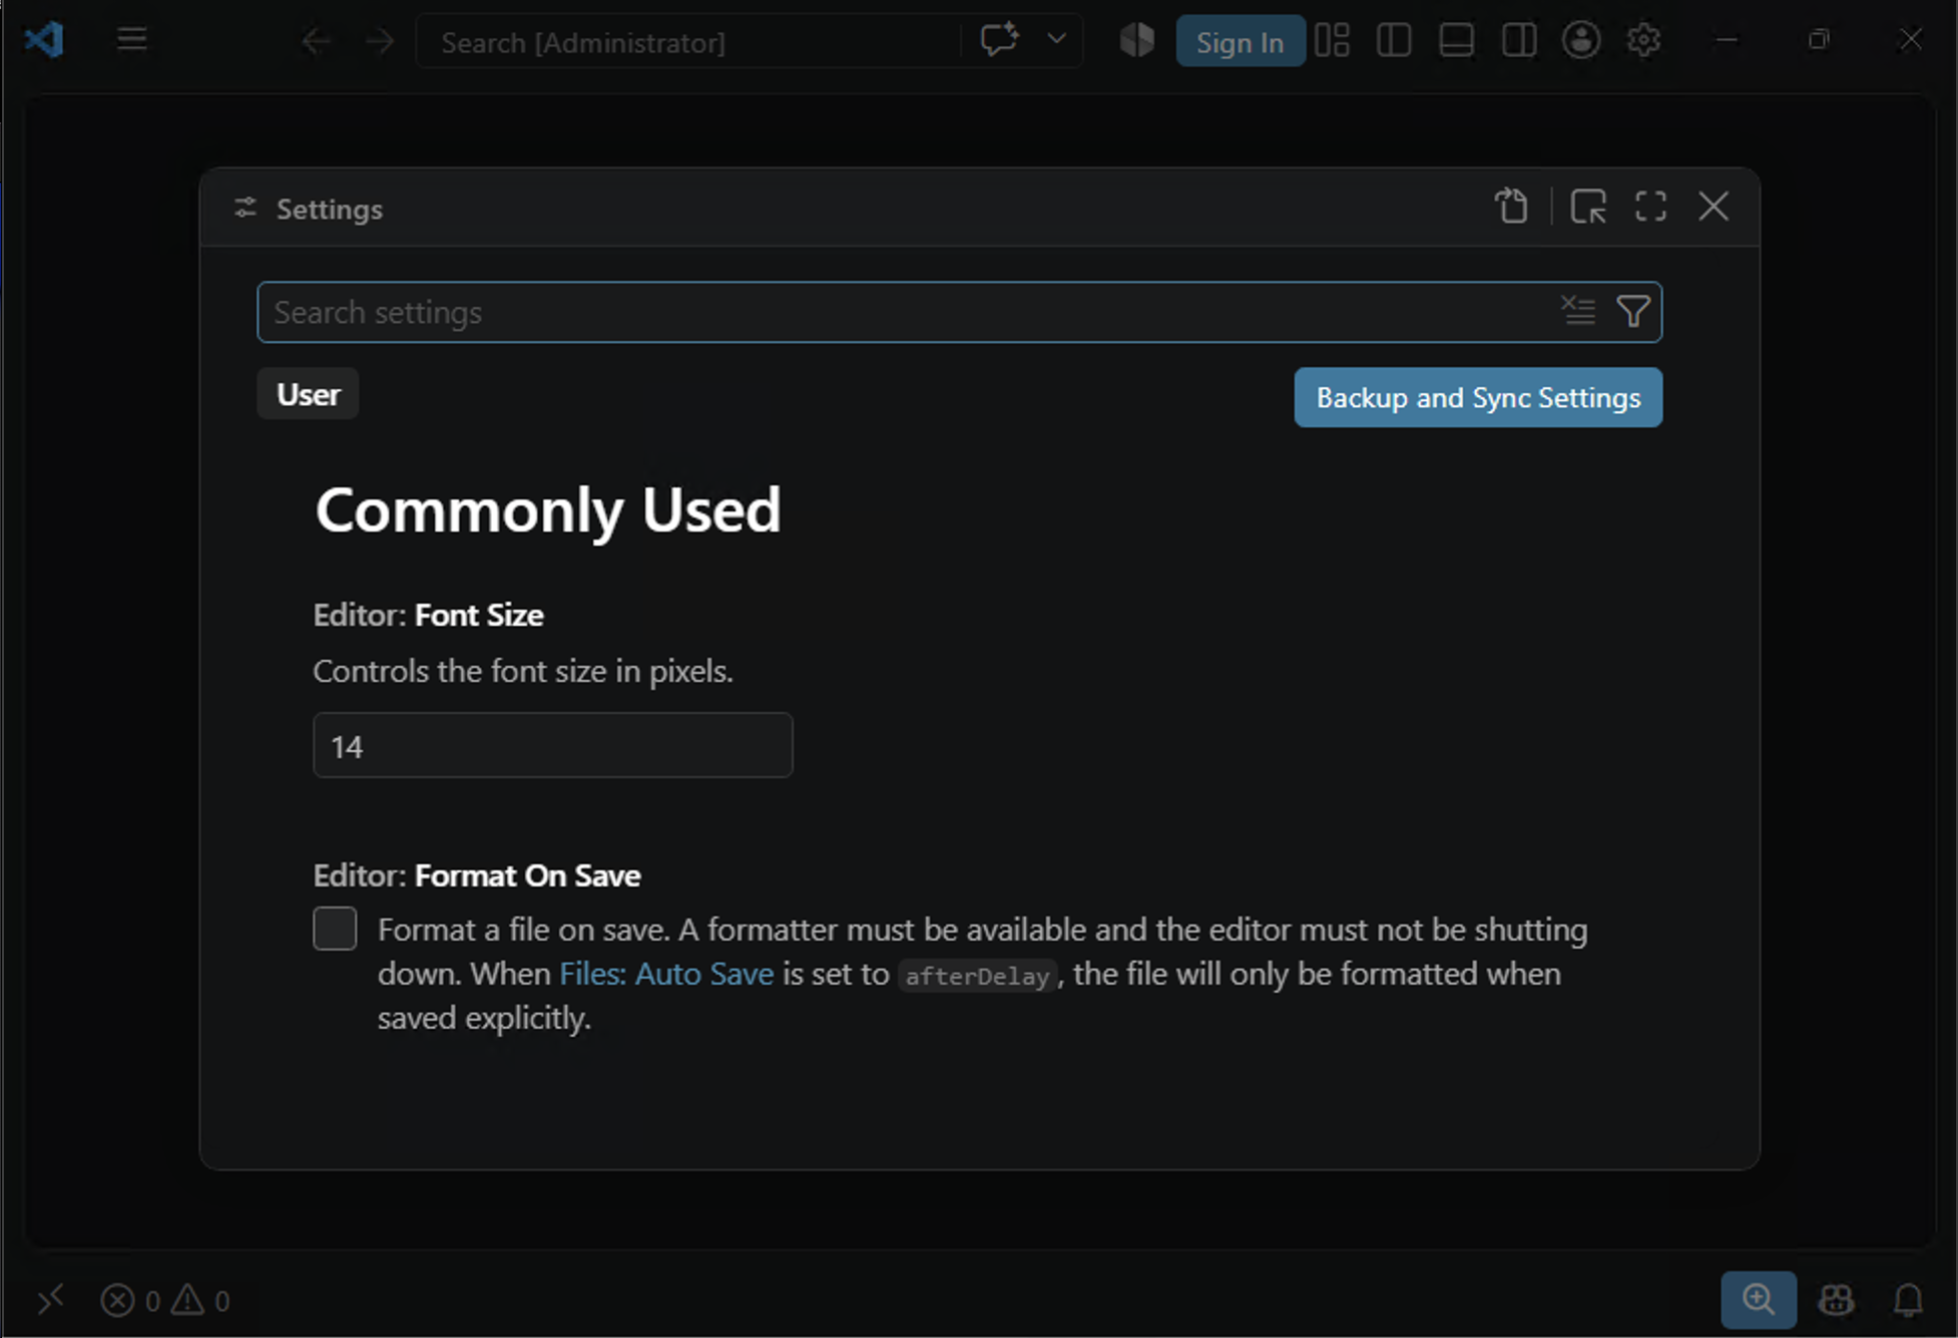
The Settings screen opens on a "Commonly Used" list. Everything here is searchable — you don't have to scroll.
Type mcp into the Search settings box at the top. VS Code filters down to the handful of MCP-related settings.
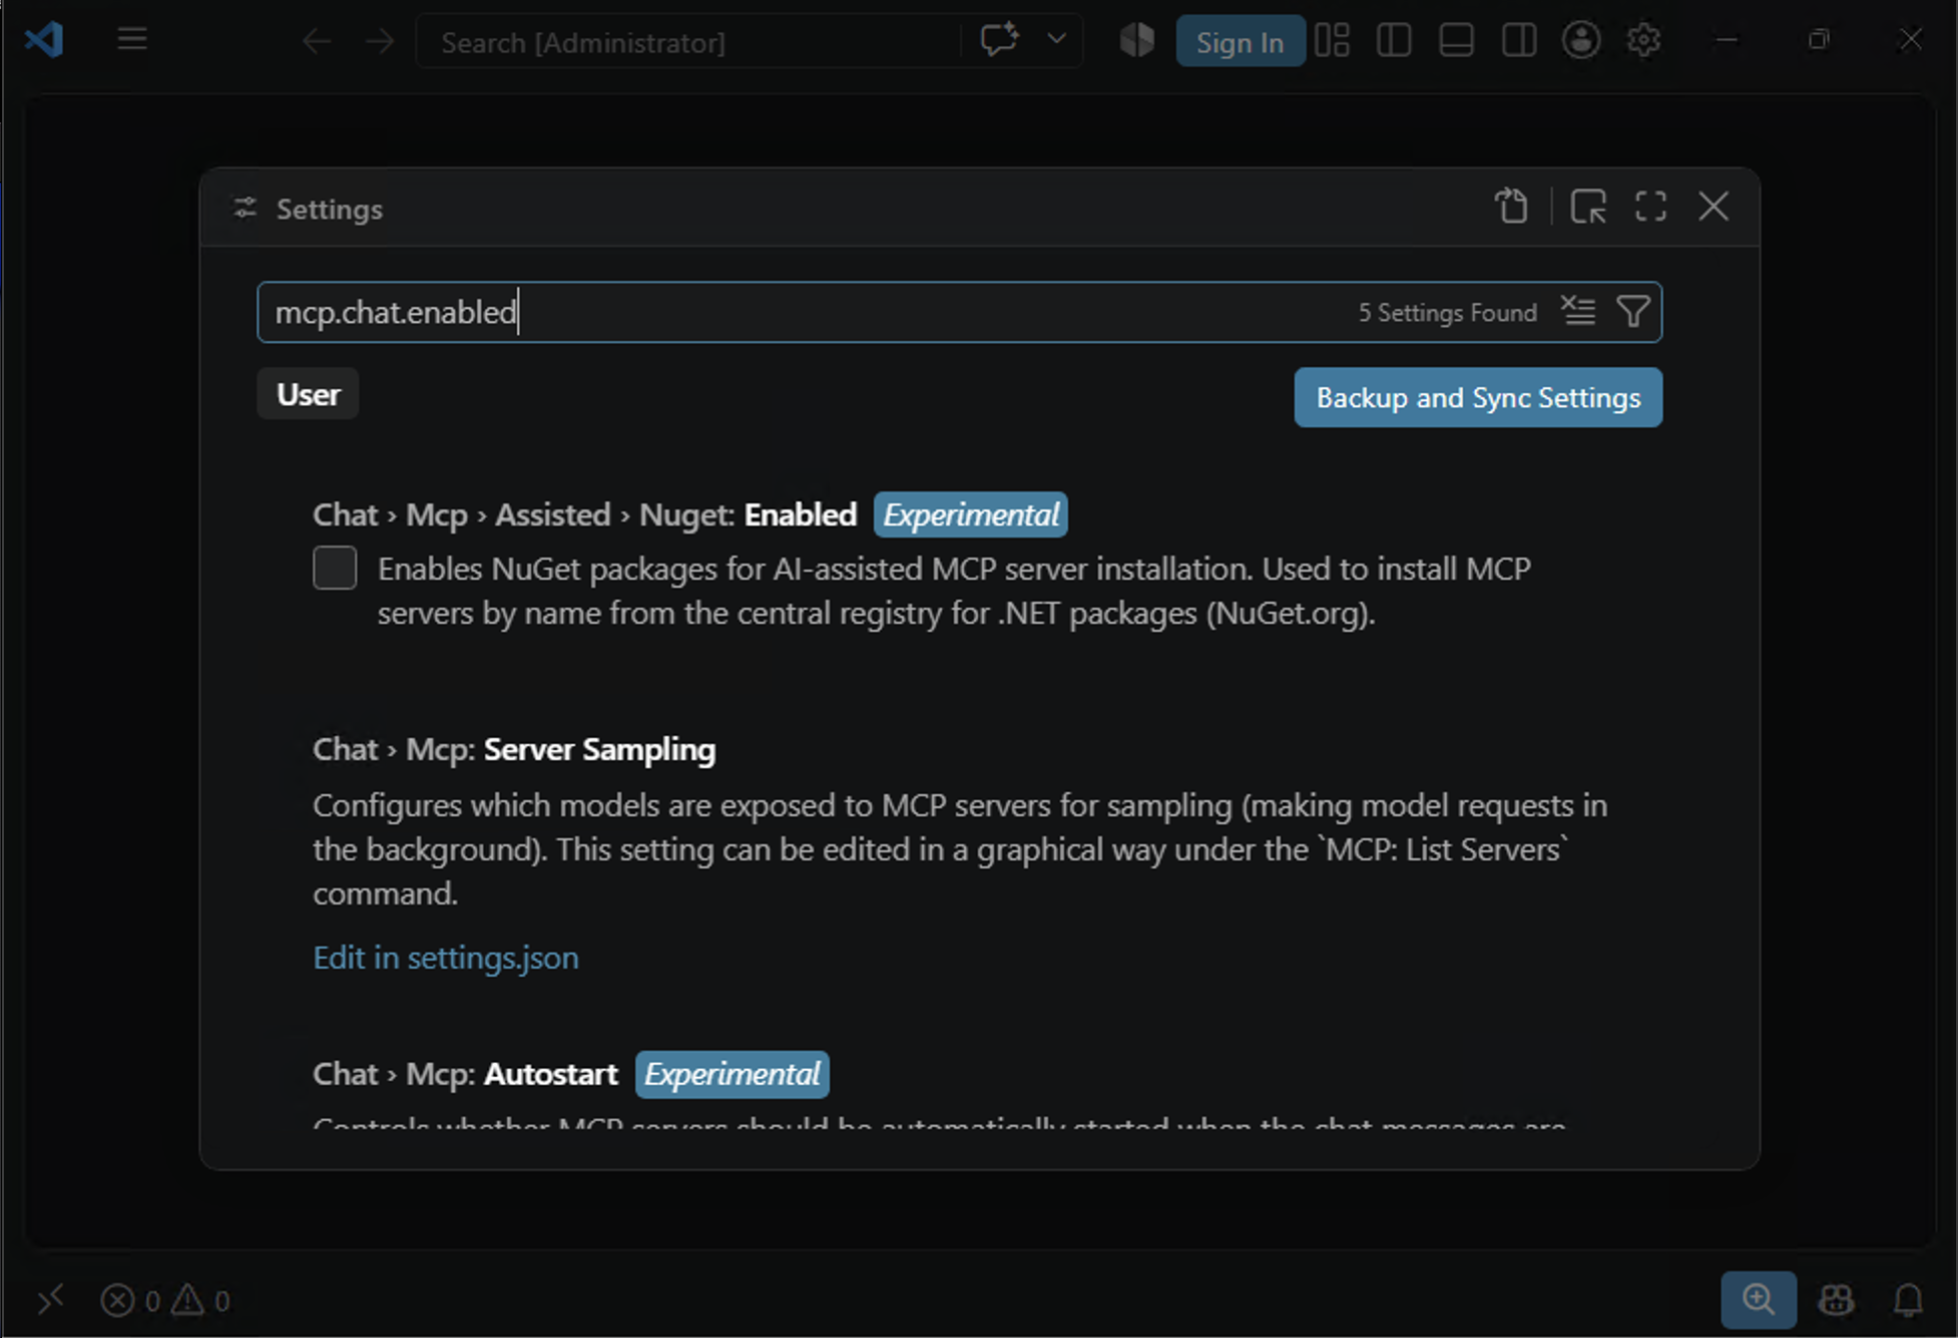
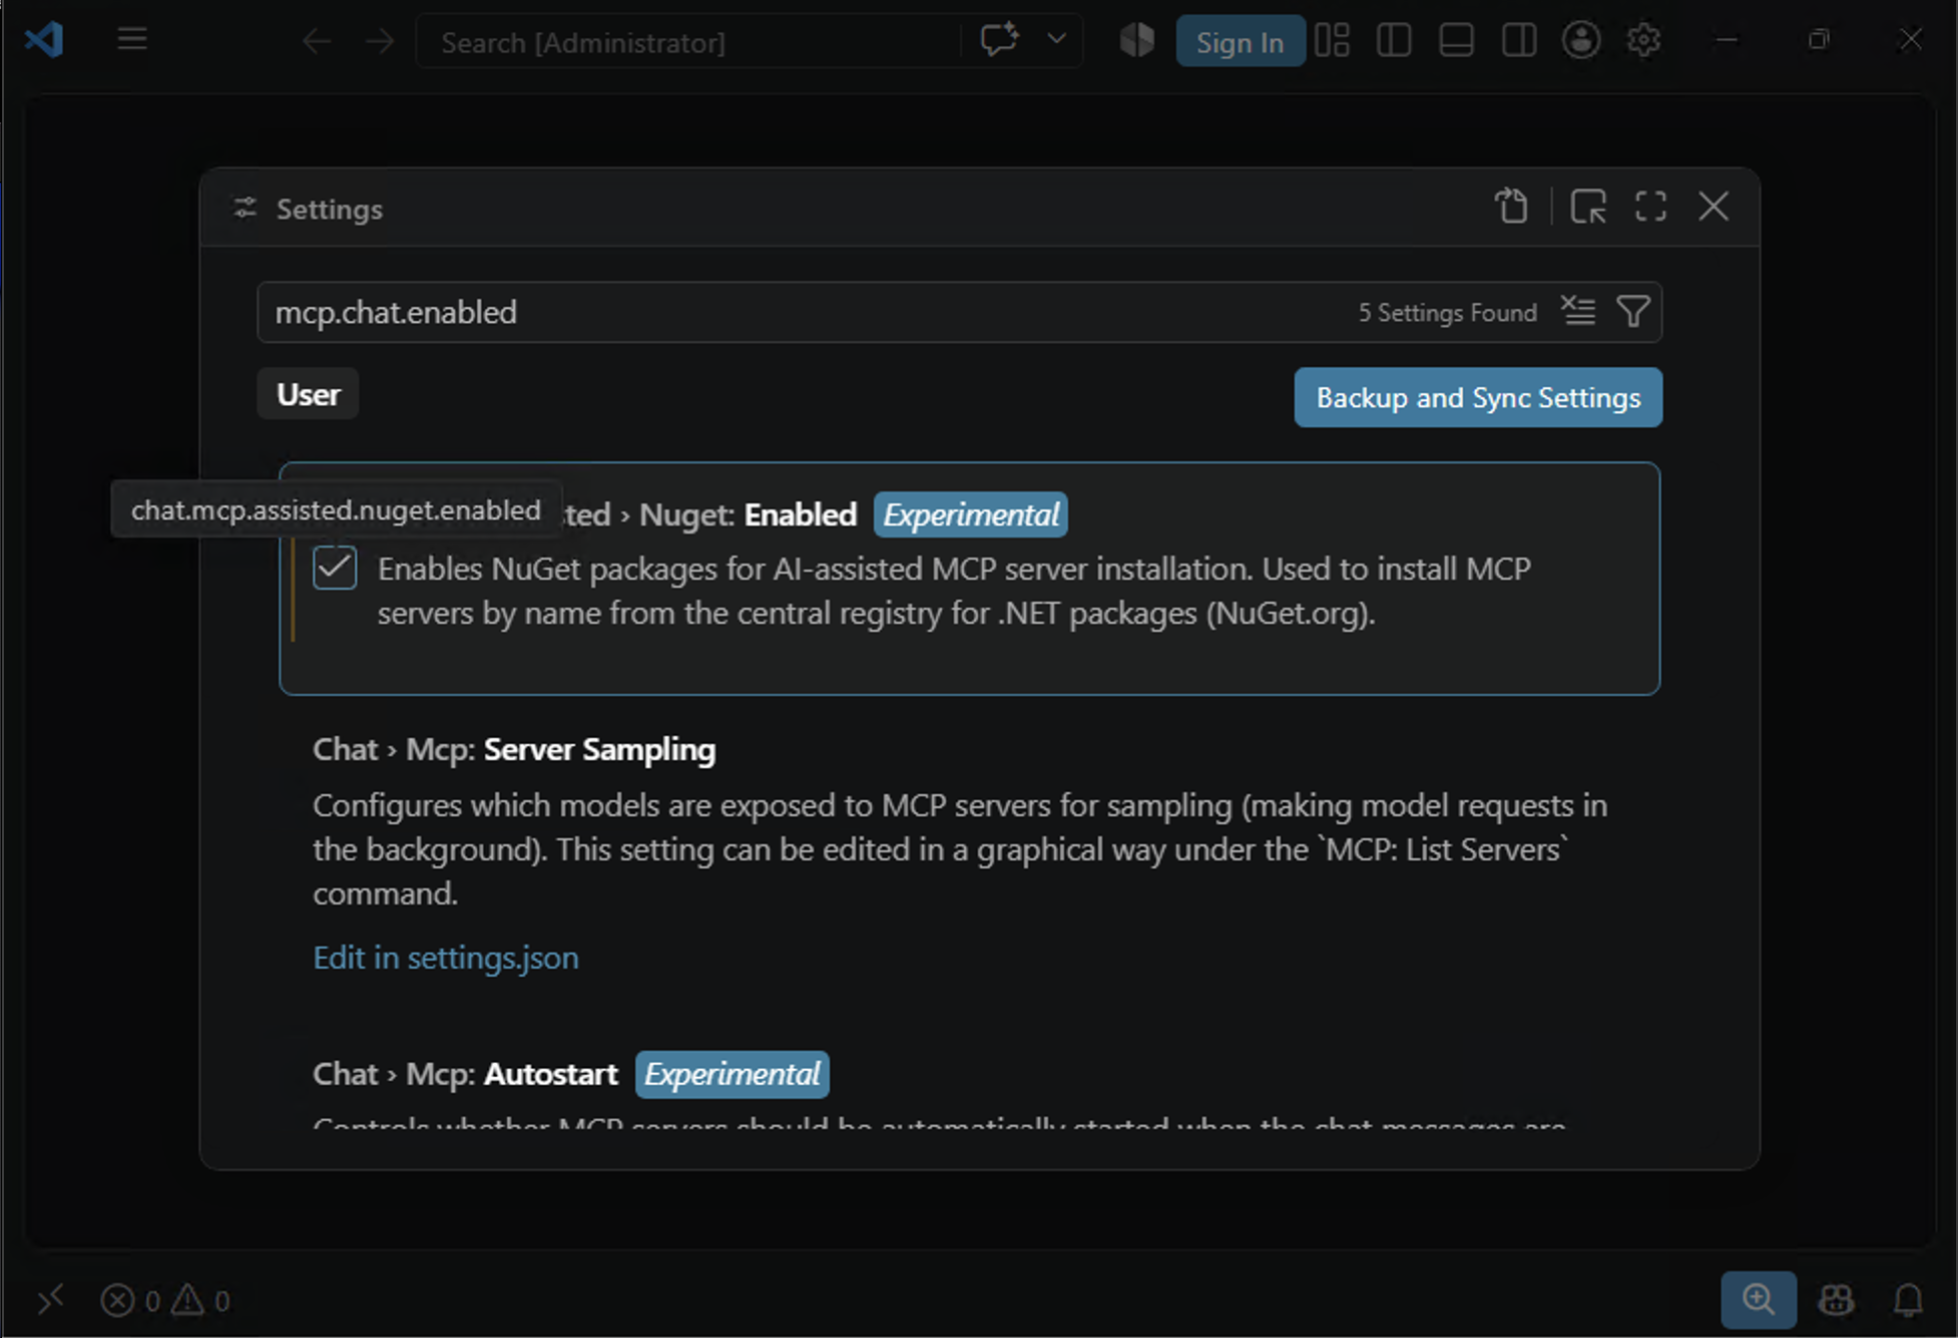
Each setting is a checkbox with a plain-English description underneath. Hovering over one shows its internal name — useful if someone from IT asks you which setting you changed.
Search mcp.server to see the server-related settings on their own.
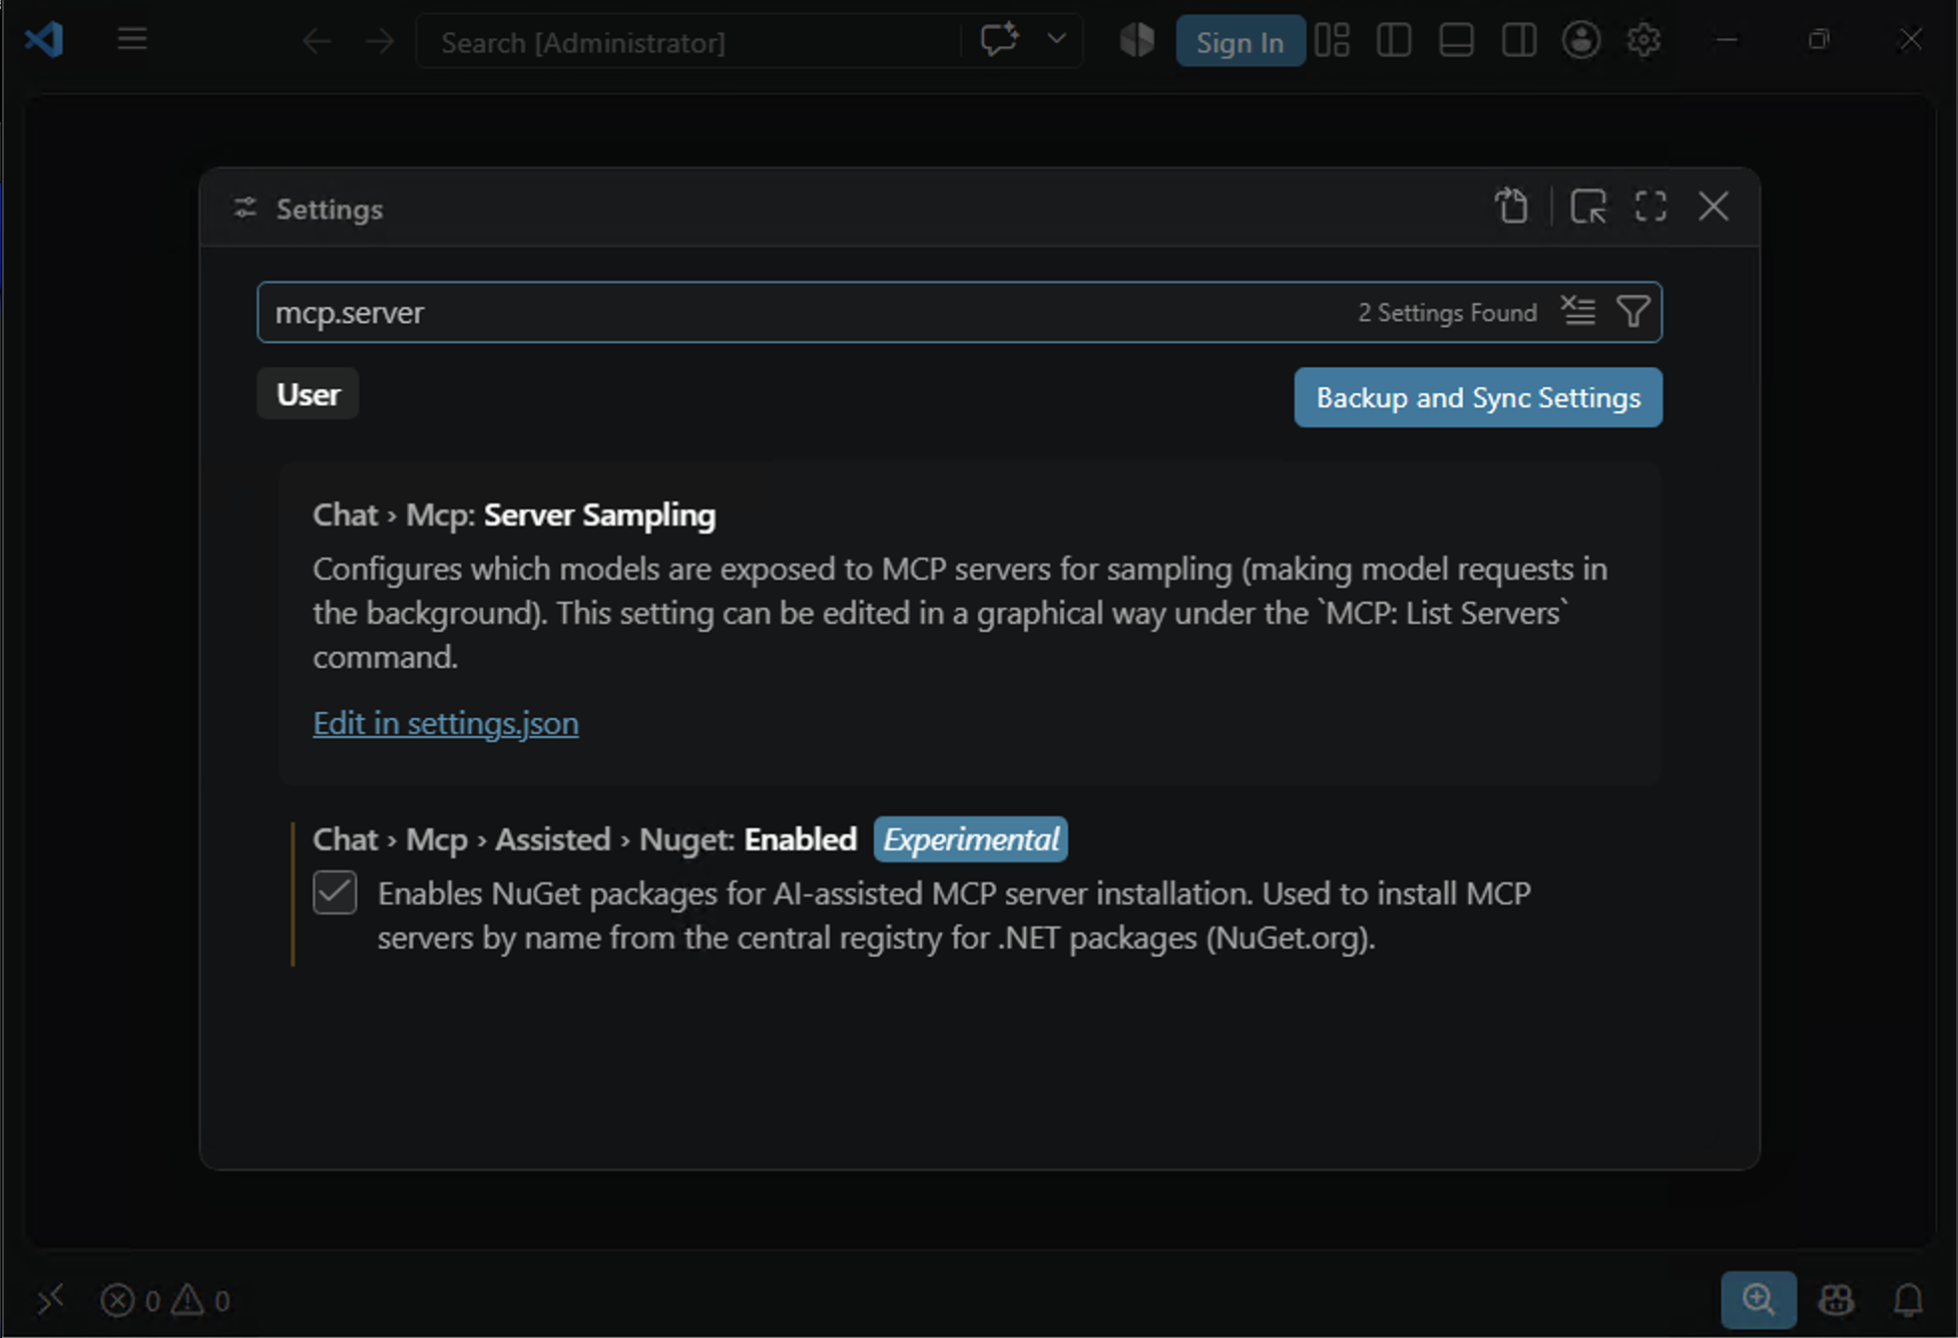
You don't need to change anything here. If the MCP settings are visible at all, your VS Code supports MCP and you're ready to go. Close the Settings tab.
If searching for mcp returns no results, your VS Code is too old. Use Help → Check for Updates…, restart, and try again.
Step 3 — Add the QAction server
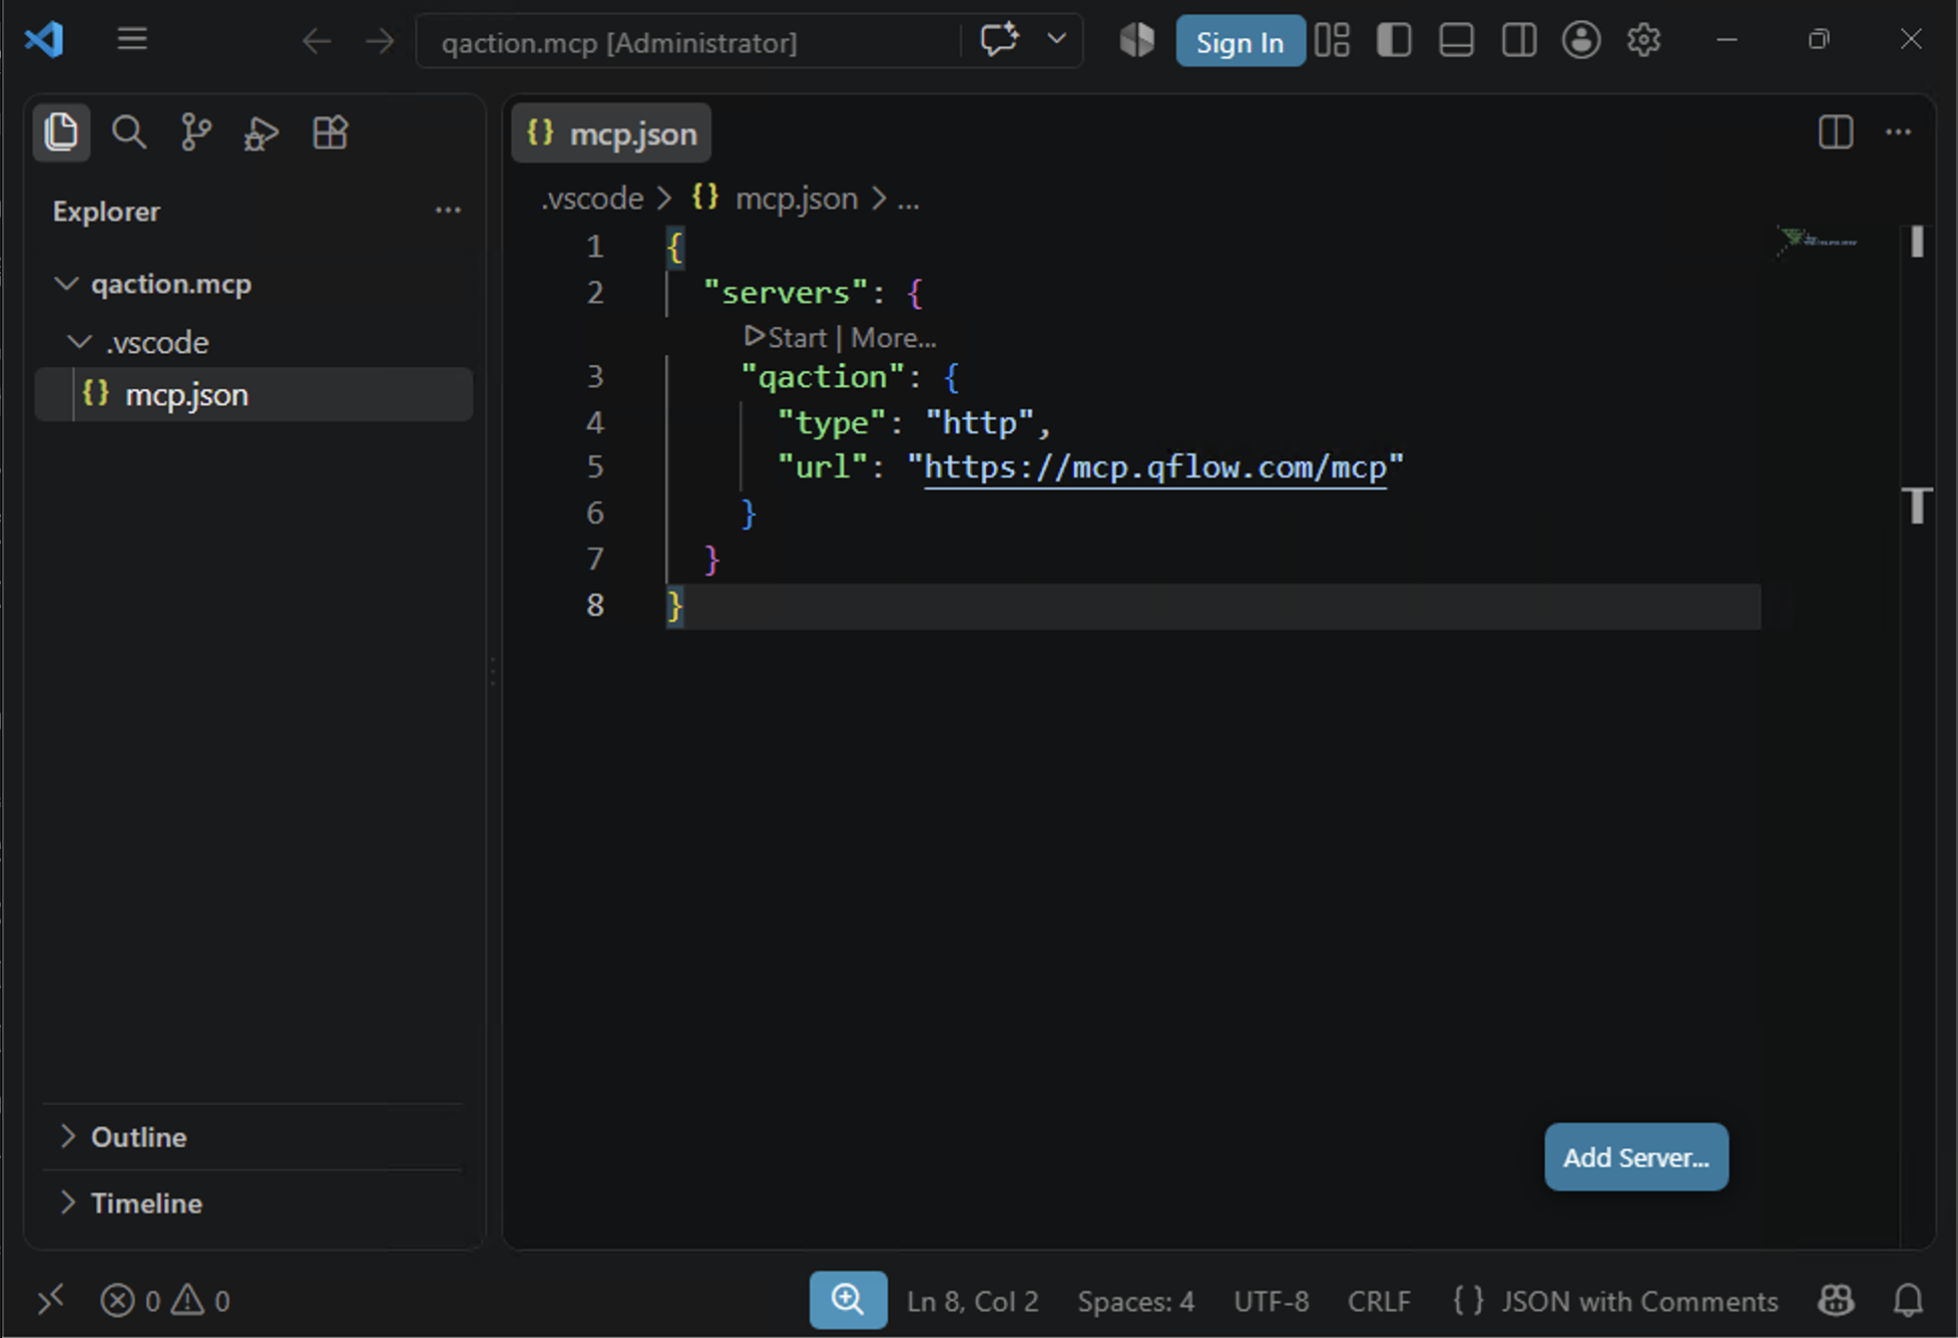
In the Explorer on the left, you're going to create one small settings file inside your folder: .vscode/mcp.json.
The quickest way is to let VS Code create it for you. Press Ctrl+Shift+P (Cmd+Shift+P on a Mac) to open the Command Palette, type MCP: Add Server, and press Enter. If VS Code asks where to save it, choose Workspace — that keeps the connection tied to this folder.
You'll end up looking at a file like this, with an Add Server… button in the bottom-right corner. (If you already have a .vscode/mcp.json, open it and click that button.)
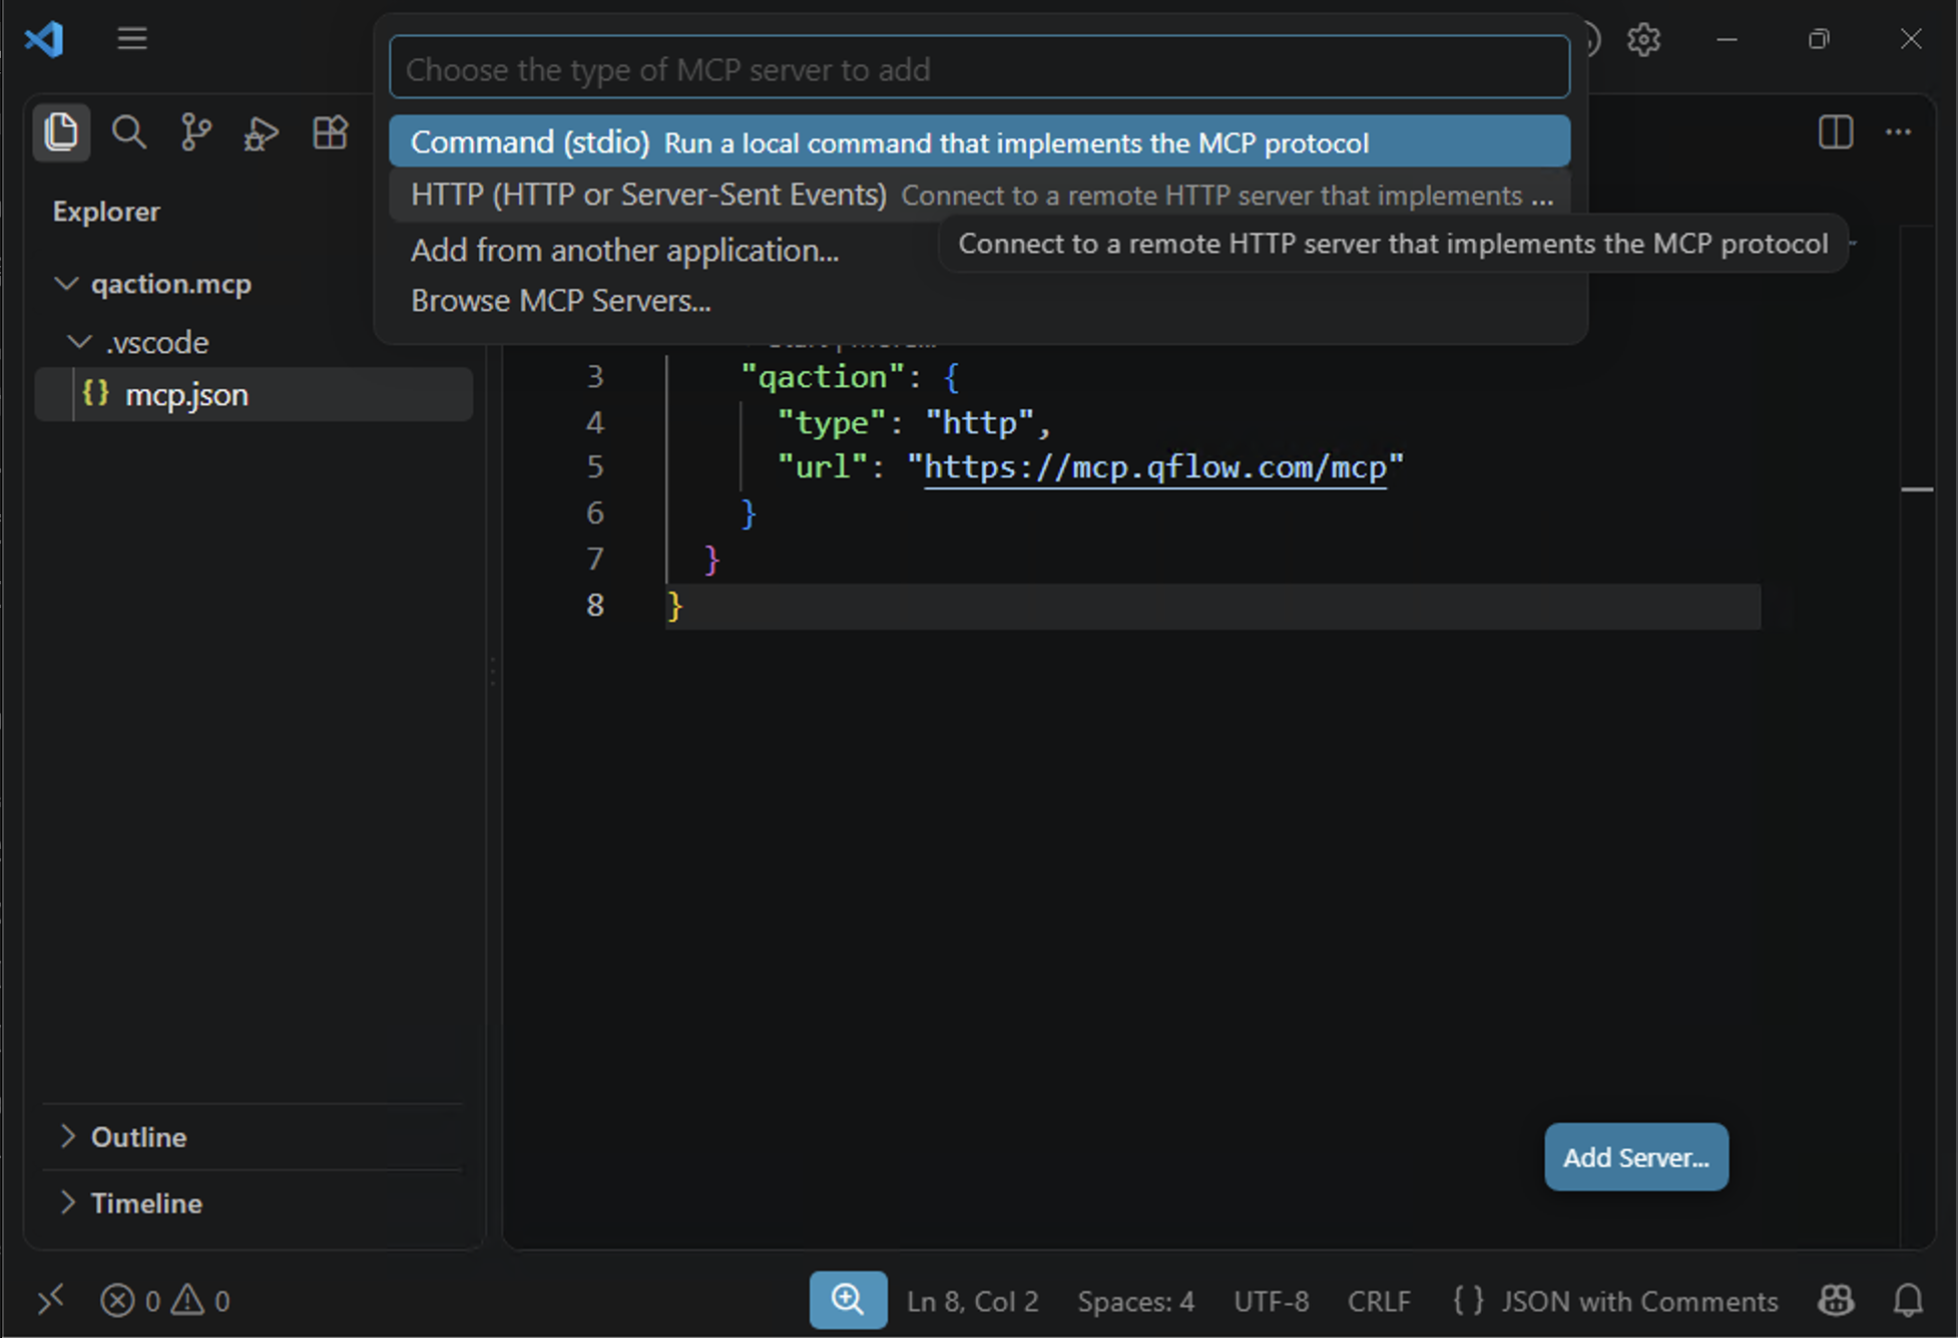
VS Code asks what type of server you're adding. Choose HTTP (HTTP or Server-Sent Events) — QAction is a remote service that VS Code talks to over the internet, not a program running on your machine.
Now paste in the QAction address:
https://mcp.qflow.com/mcp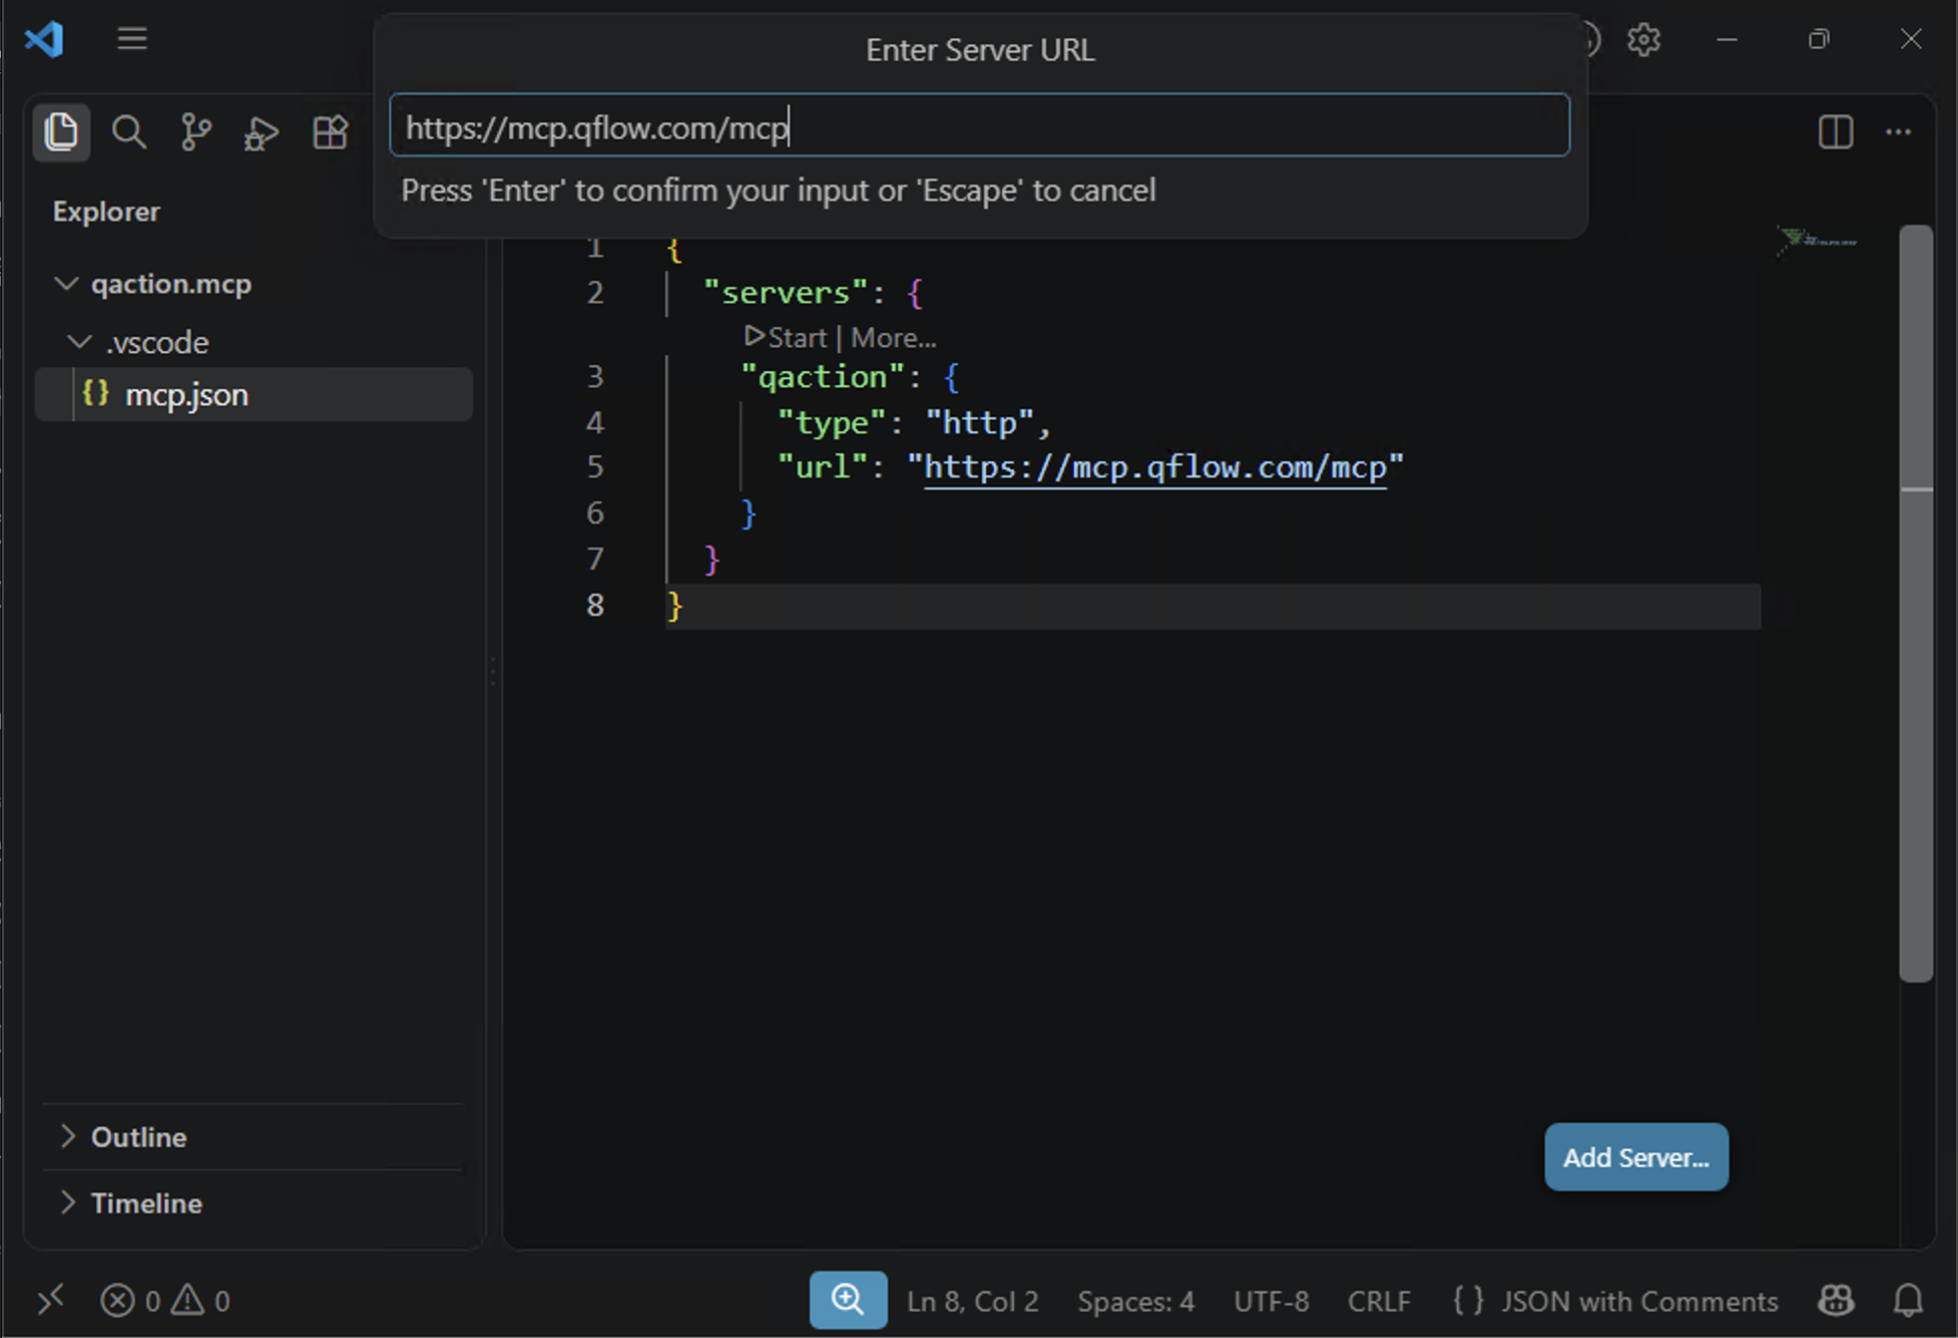
Press Enter. VS Code then asks for a name for this server — type qaction and press Enter again. This name is just a label; it's what you'll look for in the tools list at the end.
VS Code writes the entry into your file and immediately tries to connect.
Step 4 — Sign in to QAction
Because the server is protected, VS Code has to send you to QFlow's sign-in page in your browser. It asks permission before opening anything:
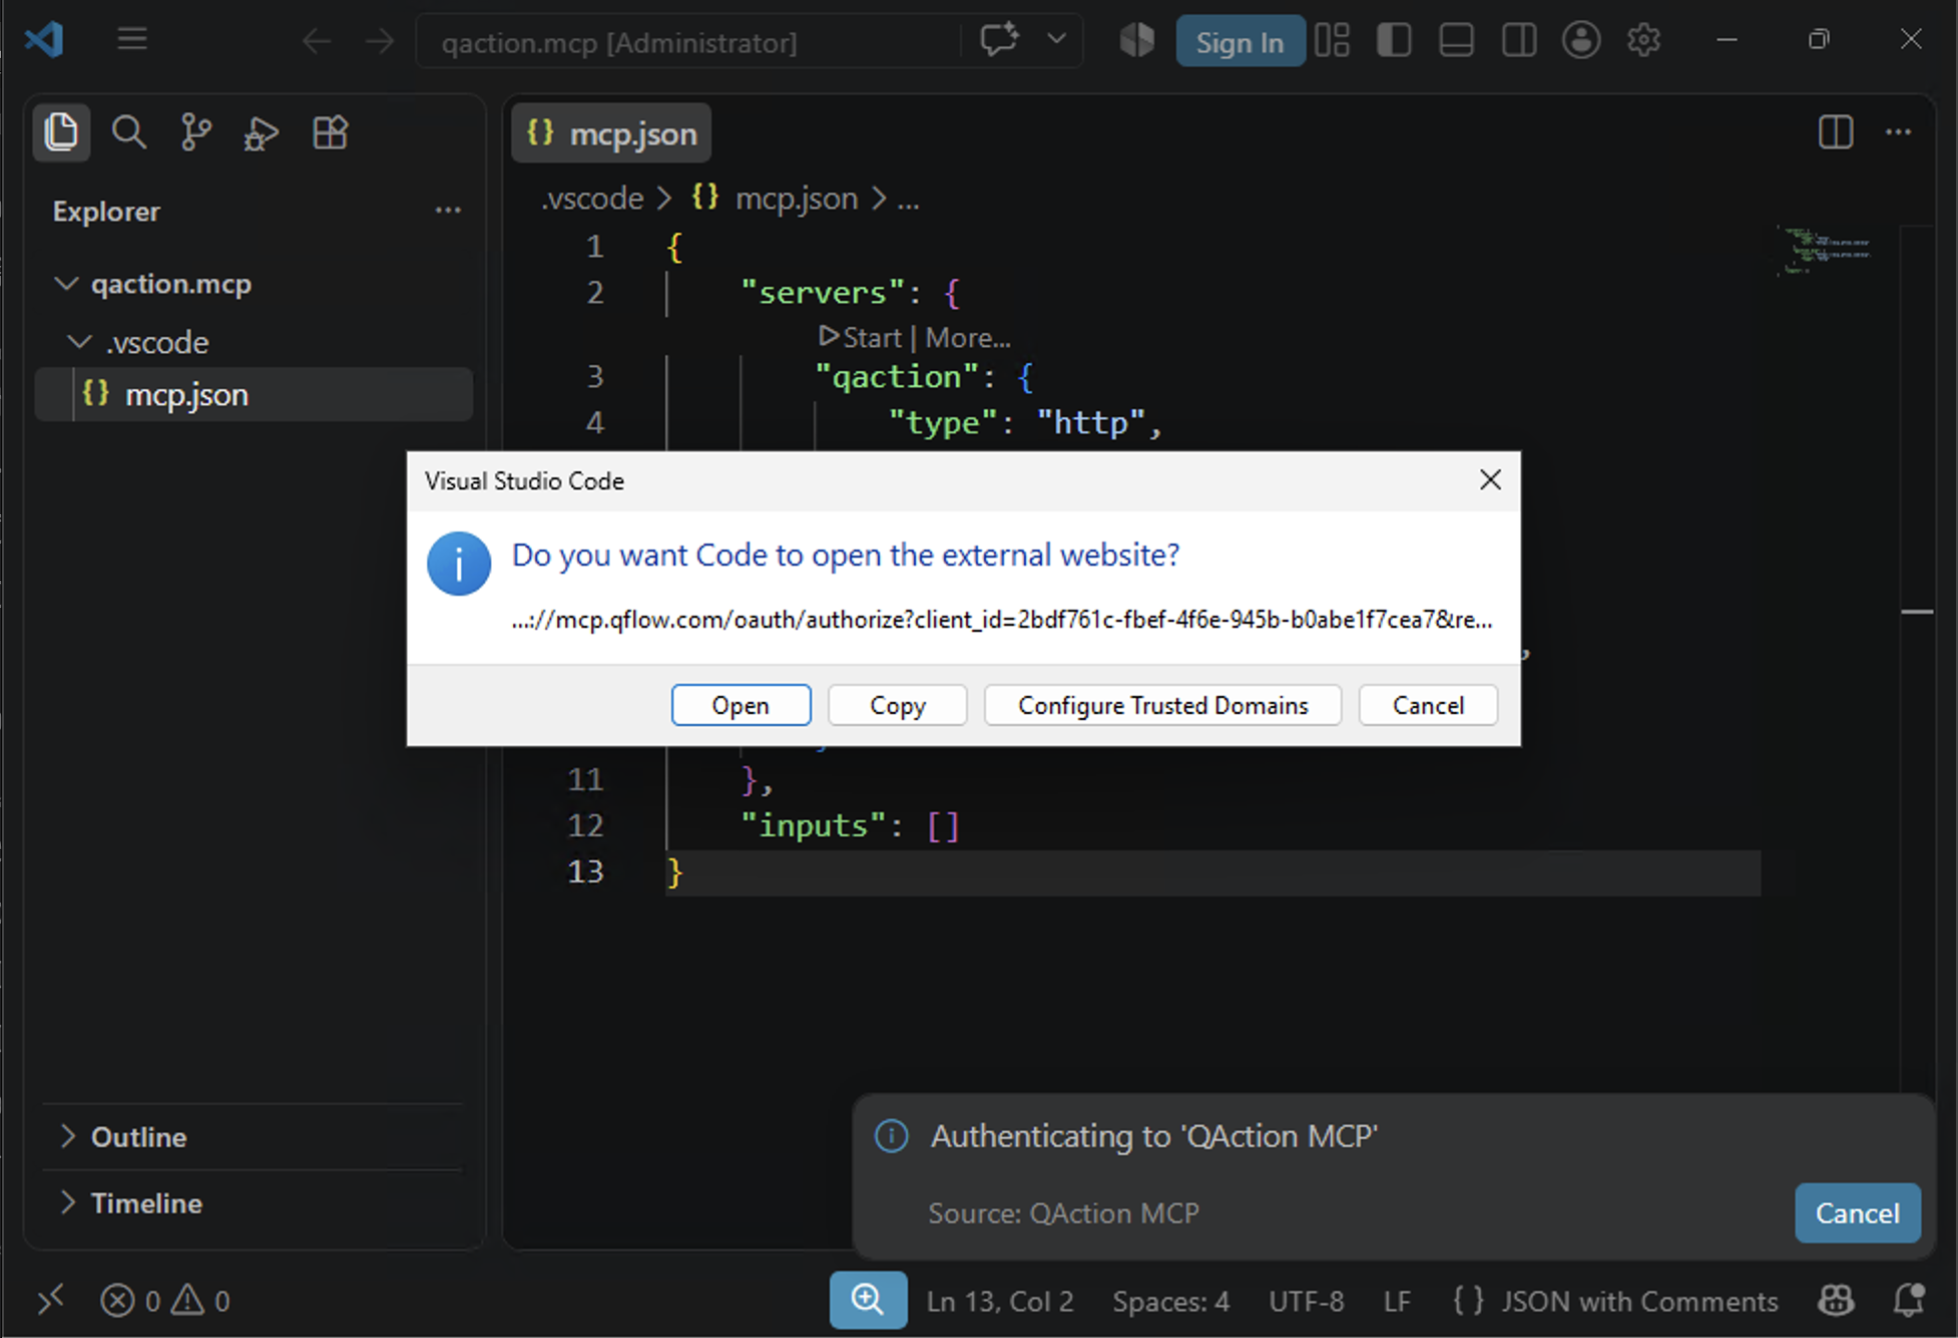
Click Open.
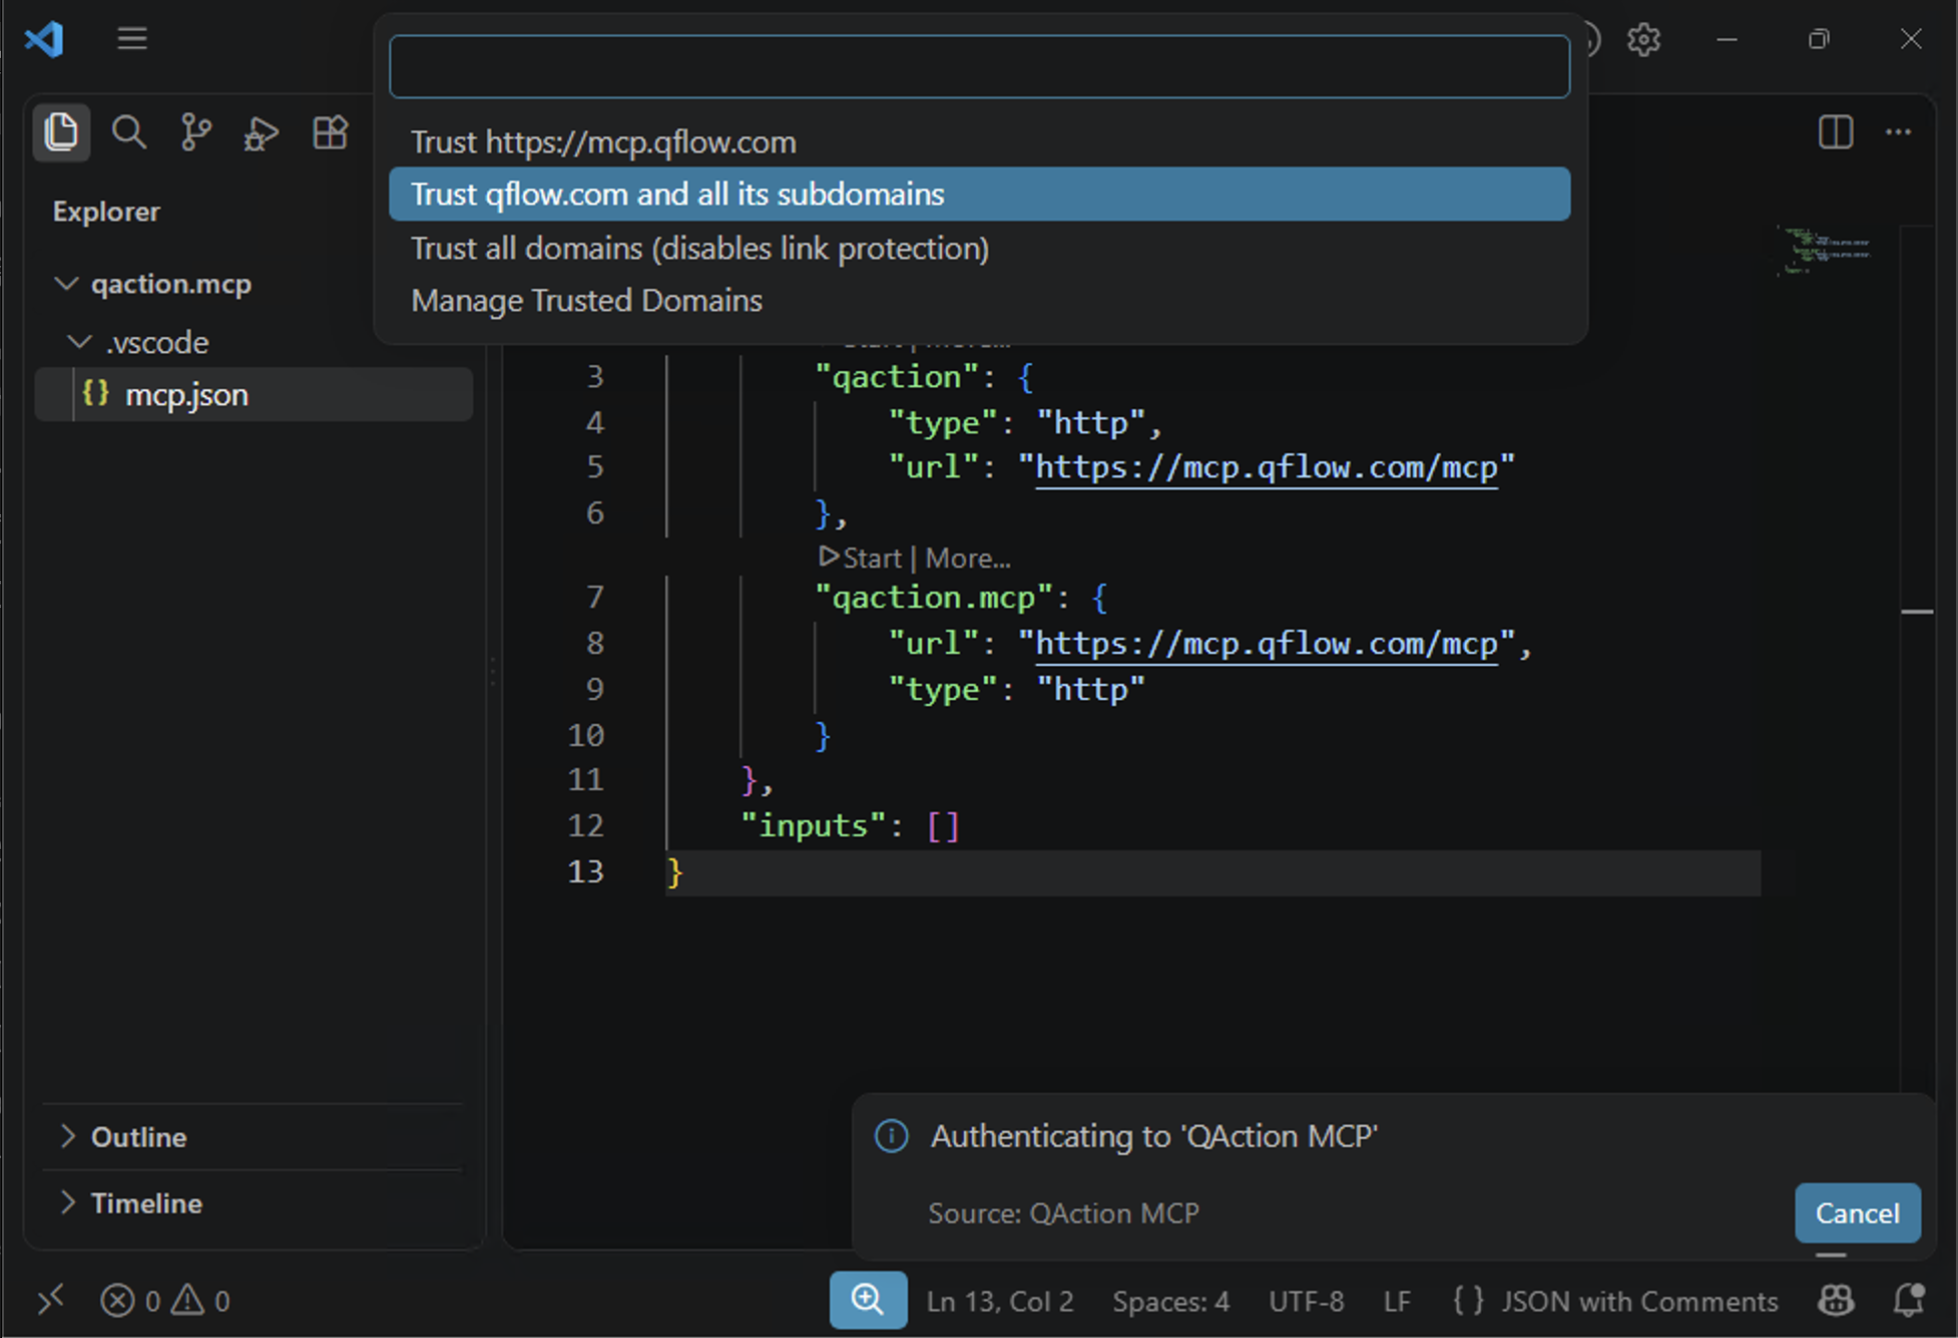
VS Code may also offer to remember that QFlow is a site you trust, so it stops asking every time. Trust qflow.com and all its subdomains is the sensible choice — it covers the sign-in page, the consent page, and the server itself. Avoid "Trust all domains", which switches the safety check off everywhere.
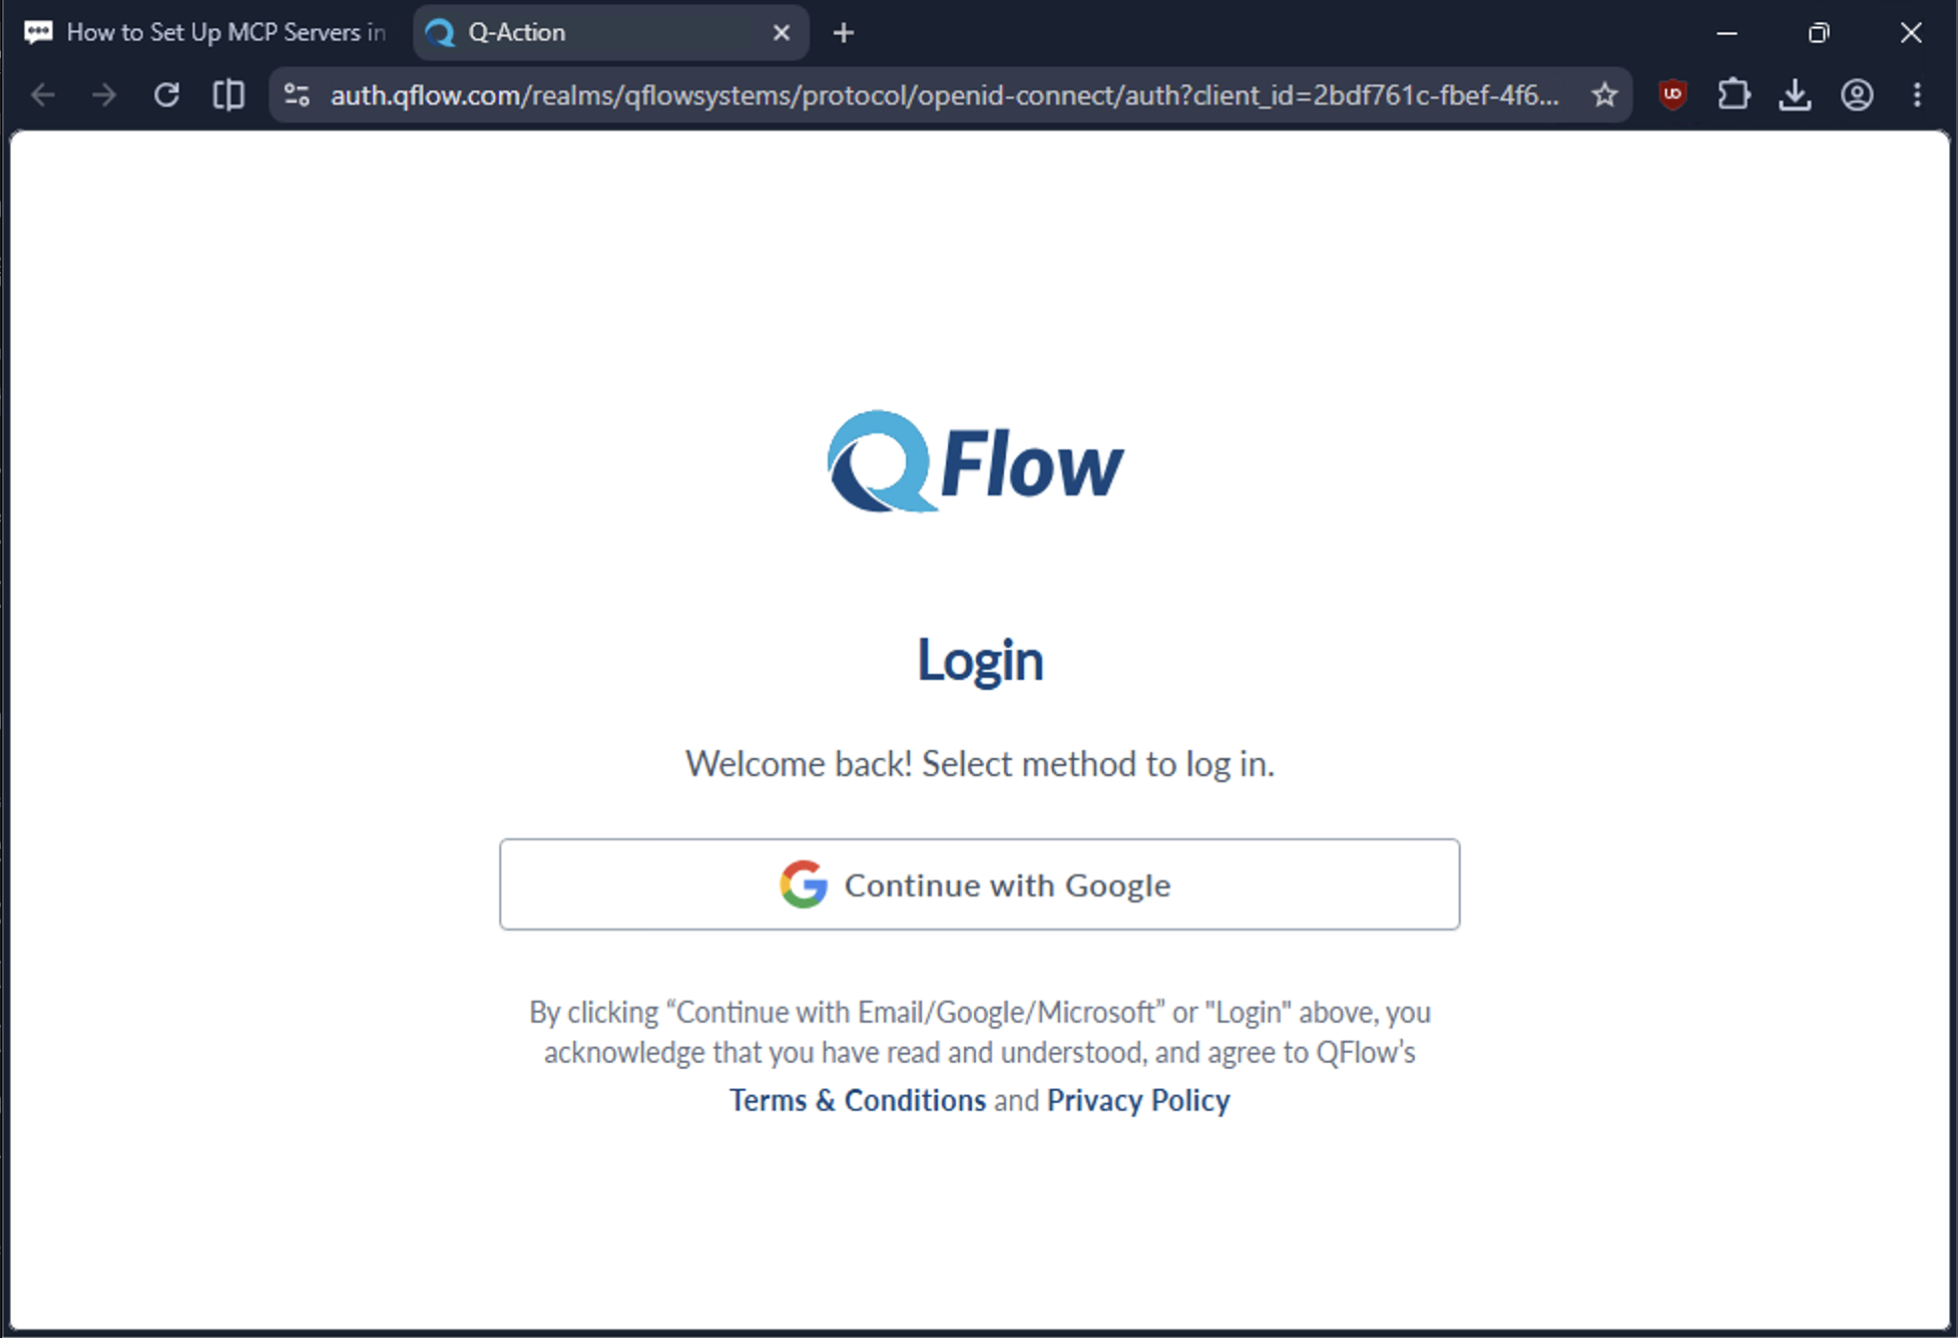
Your browser opens the QFlow login page. Sign in the way you normally sign in to QAction.
Step 5 — Choose what VS Code is allowed to do
This is the most important screen in the whole guide, so it's worth reading rather than clicking through.
QAction shows you a Connect an app page listing the categories of things VS Code is asking to use. Each one is a switch you control:
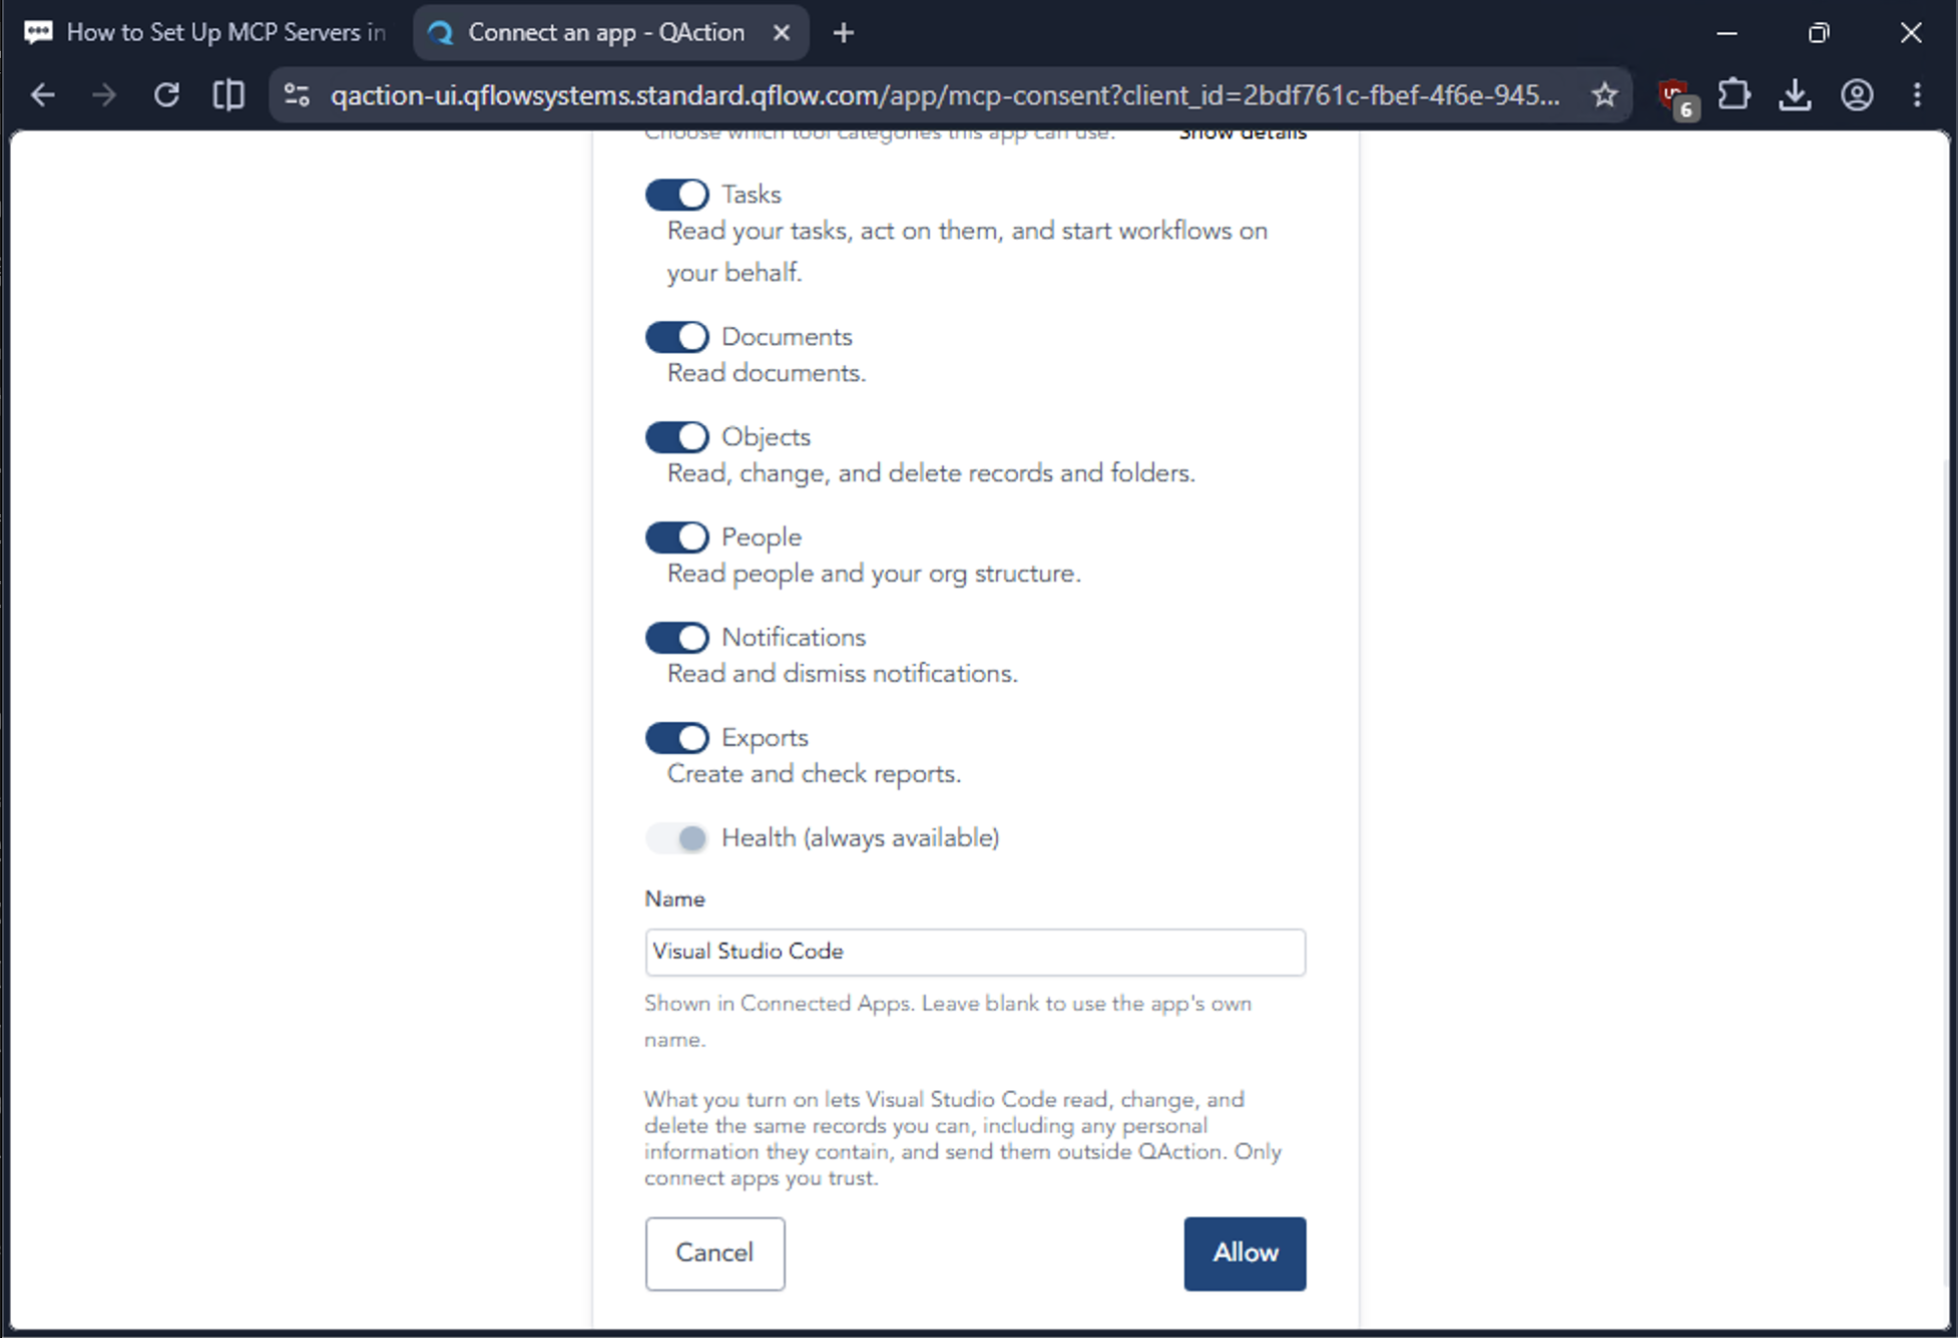
Two things to know:
- Switch off anything you don't need. The connection still works. If you only ever want to look things up, leave Objects off — that's the one that allows changes and deletions.
- You are lending your own access, not more. VS Code can read, change, and delete exactly the same records you can — including any personal information in them — and send them outside QAction. Only connect apps you trust.
The Name box is how this connection will appear later in your QAction account. Leave it as Visual Studio Code, or make it more specific if you plan to connect from more than one machine (e.g. VS Code — work laptop).
When you're happy, click Allow.
Step 6 — Return to VS Code
QAction confirms the sign-in and hands you back. Your browser asks for permission to reopen the VS Code application:
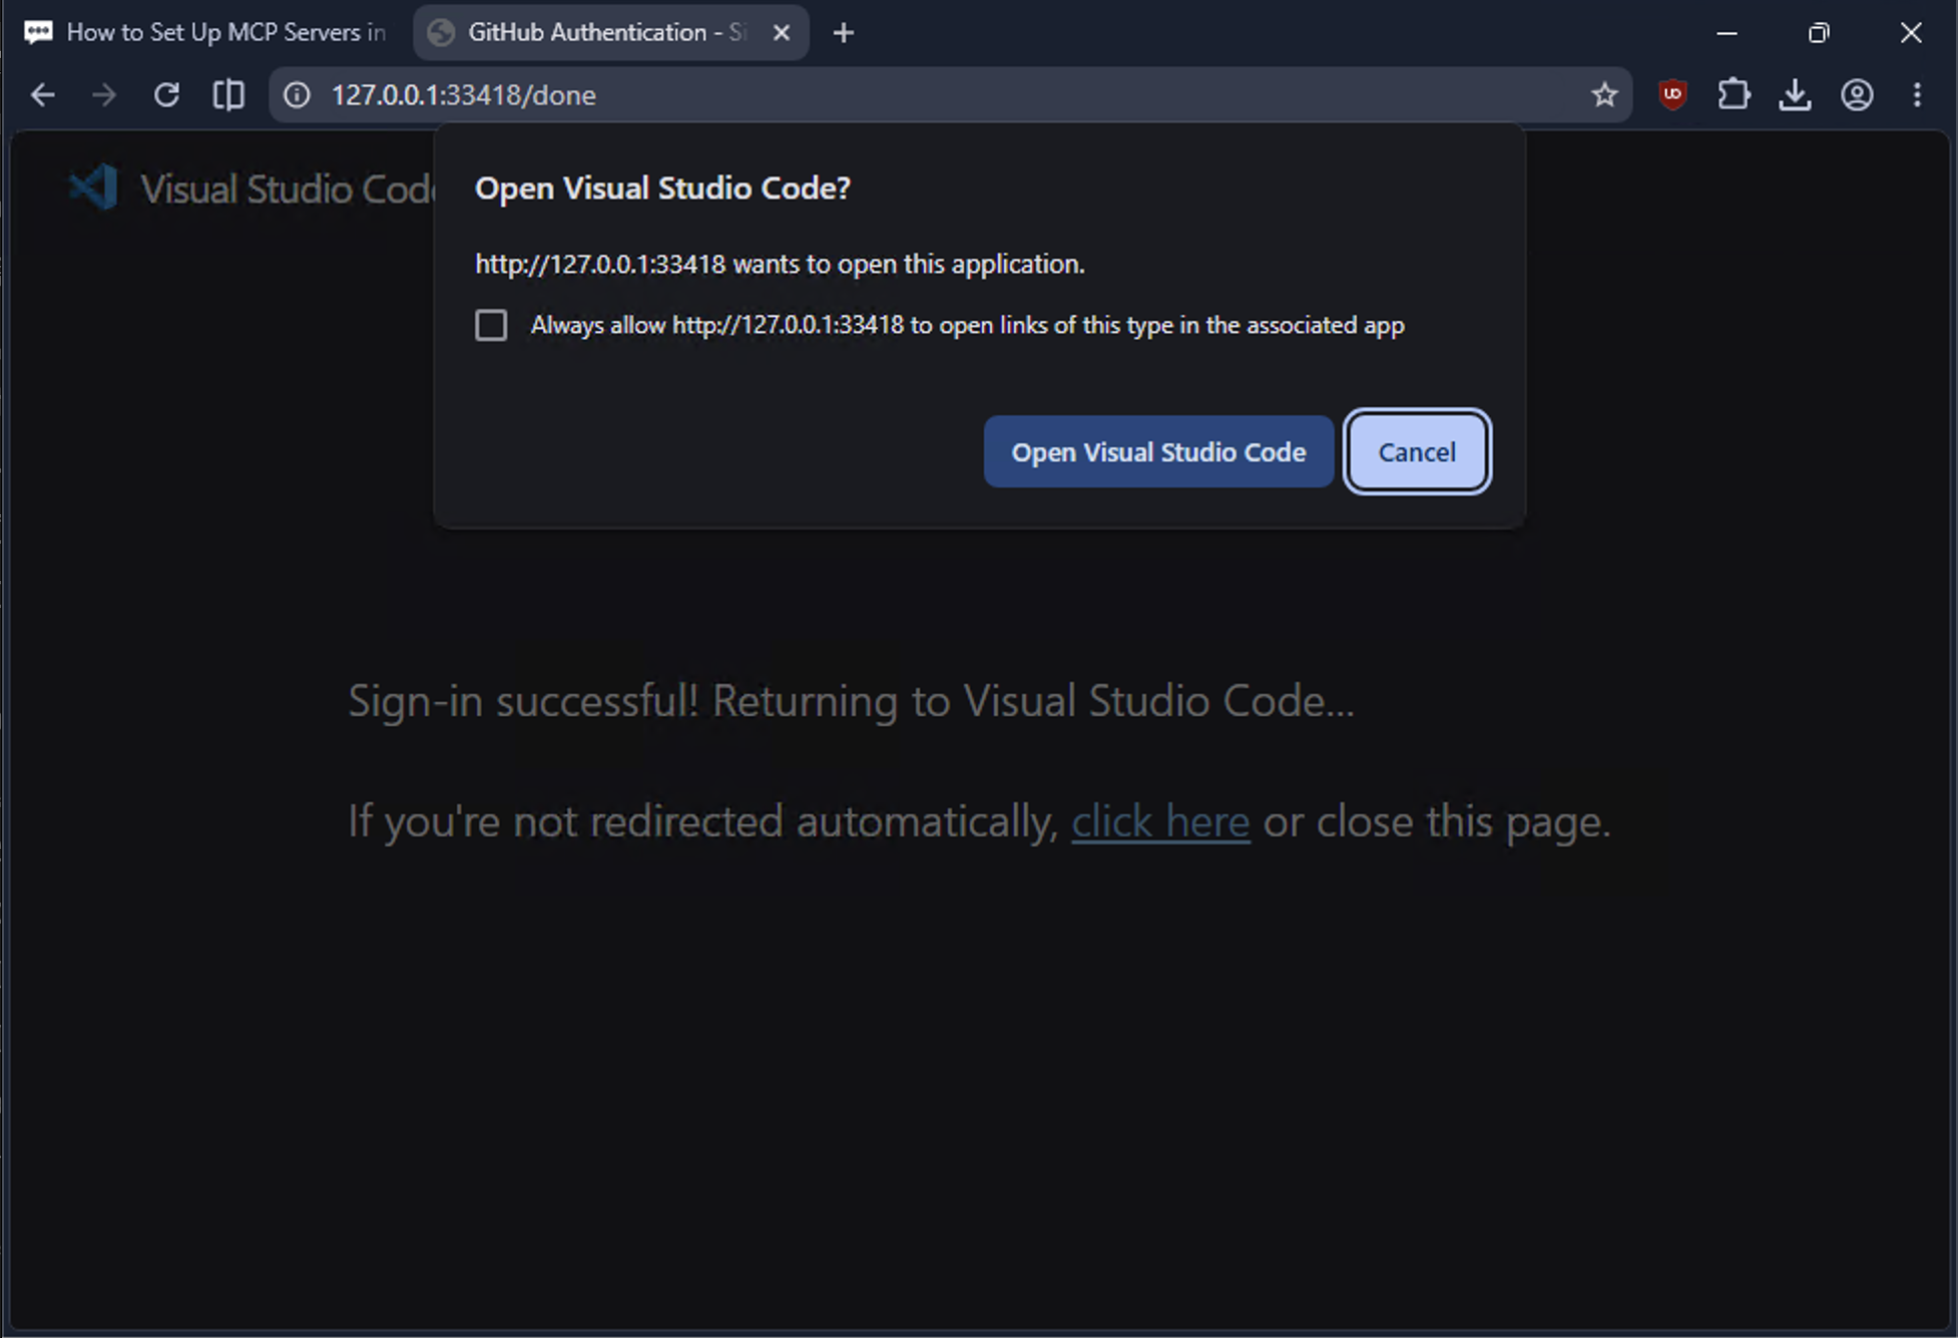
Click Open Visual Studio Code. You can tick "Always allow…" to skip this prompt next time. Then close the browser tab — you're done with it.
Step 7 — Switch the QAction tools on in Chat
The server is connected, but its tools still need to be made available to the chat assistant.
Open the Chat panel in VS Code, then open Configure Tools… (the sliders icon in the chat input box). You'll see the built-in tools listed, and your new qaction server underneath — with its checkbox empty:
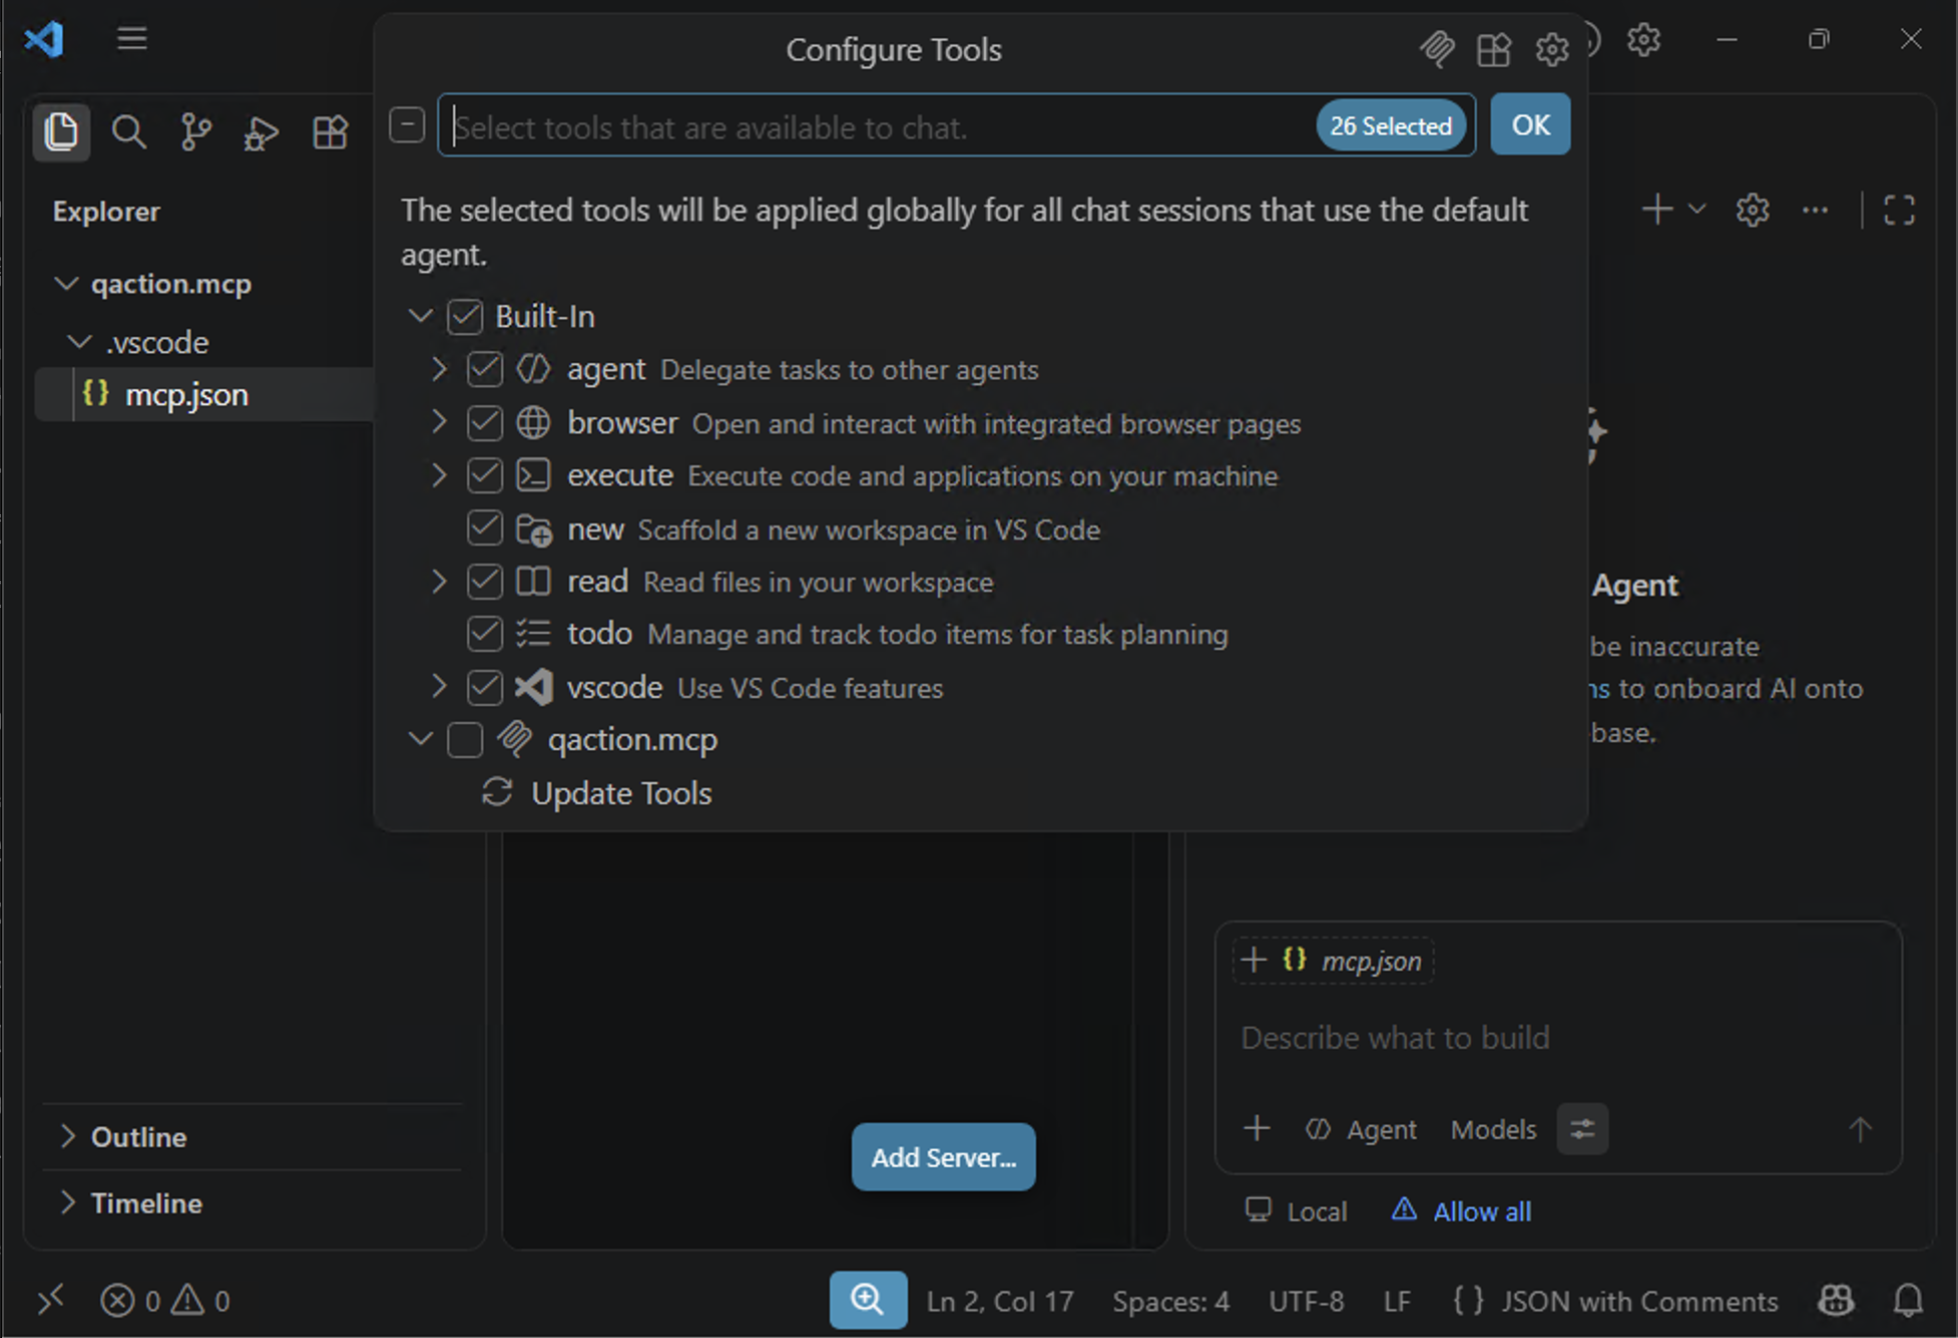
Tick the checkbox next to the QAction server. It expands to show every tool the server offers — qaction_get_inbox, qaction_search_documents, qaction_complete_task, and so on — all now ticked:
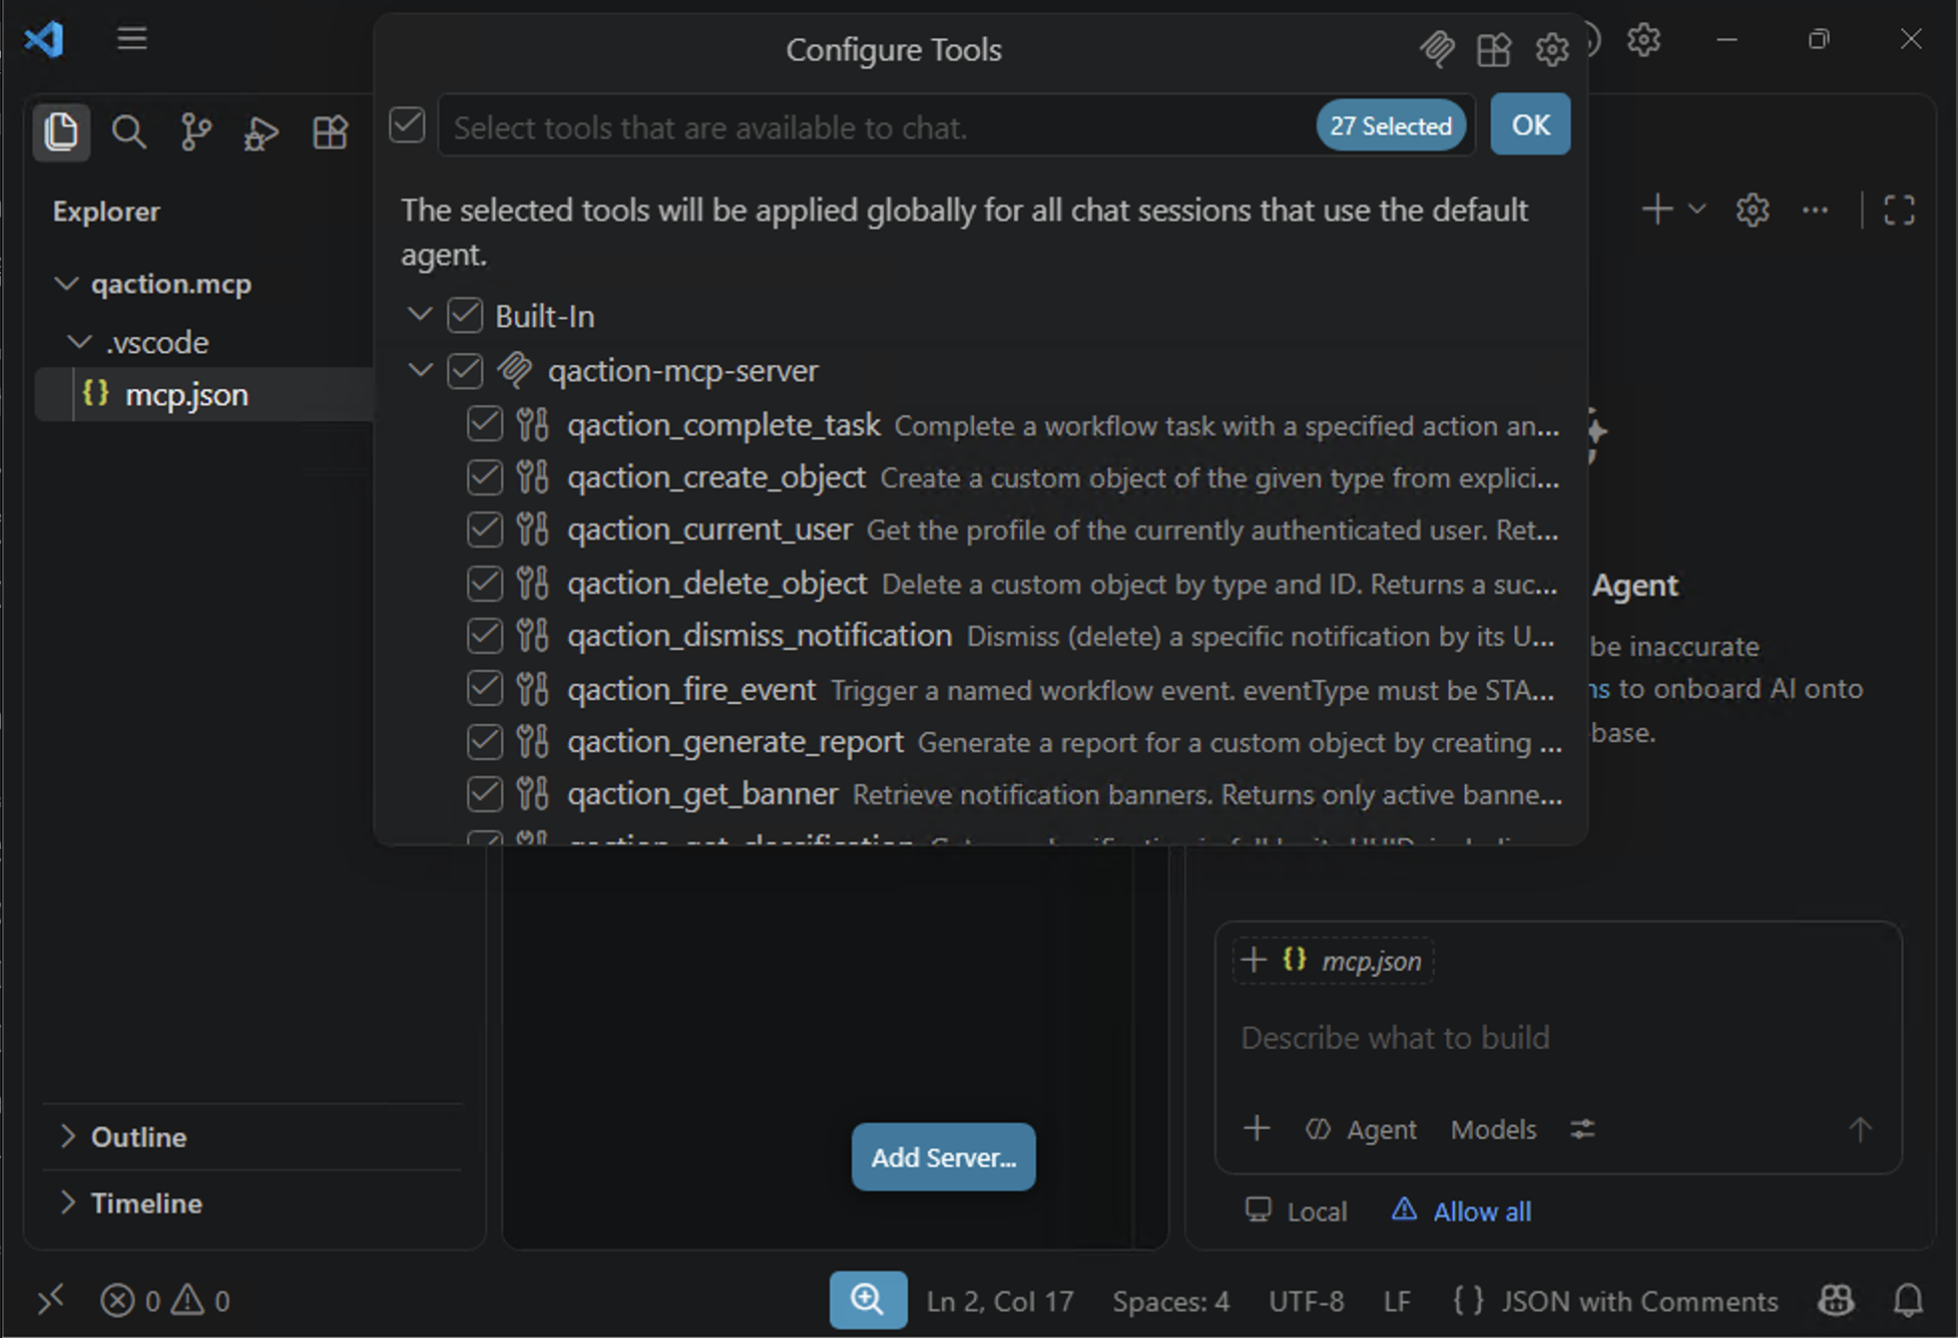
Click OK. Setup is complete.
The tool list reflects the permissions you granted in Step 5. If you switched Objects off, the create/update/delete tools simply won't appear.
Step 8 — Try it
In the Chat box, ask something only QAction could answer:
- "Who am I signed in as in QAction?"
- "Show me my QAction inbox."
- "Search QAction documents for anything mentioning renewal."
The first time a tool runs, VS Code asks you to approve it. Approving once per tool is enough.
If you get a real answer with your own data in it, the connection is working.
Managing the connection later
To see or revoke what you granted, go to your QAction account settings and open the Connected Apps tab. Every app you've connected is listed there under the name from Step 5, and can be removed with one click. Removing it here immediately cuts VS Code off — no change needed on your computer.
To change which categories are allowed, remove the connection in Connected Apps and reconnect from VS Code; you'll be shown the consent screen again.
To disconnect just this project, delete the .vscode/mcp.json file from your folder.
If something goes wrong
"Nothing happened when I clicked Add Server." Check you opened a folder in Step 1, not a single file. VS Code has nowhere to save a workspace setting without one.
The browser opened but the sign-in page didn't load. Confirm you can reach QAction normally in the same browser. If your organisation uses a VPN or a web filter, mcp.qflow.com and auth.qflow.com may need to be allowed through — that's a question for IT.
I signed in, but VS Code still shows the server as not connected. Open the Command Palette (Ctrl+Shift+P / Cmd+Shift+P), run MCP: List Servers, select the QAction server, and choose Restart. The same menu has Show Output, which shows the underlying error if it persists.
The QAction tools don't appear in Chat. Re-open Configure Tools… and confirm the server's checkbox is ticked (Step 7). If the server is listed but has no tools under it, use Update Tools at the bottom of that dialog.
The assistant says it can't do something. It's most likely a permission you switched off in Step 5. Check Connected Apps.
If you receive a "fetch error". Open the Command Palette (Ctrl+Shift+P / Cmd+Shift+P), run Authentication: Remove Dynamic Authentication Providers and clean up any providers linked to your MCP url.
Reference — what the files look like
You never need to edit these by hand, but here's what the setup writes, in case you're asked.
.vscode/mcp.json in your project folder — the connection itself:
{
  "servers": {
    "qaction": {
      "type": "http",
      "url": "https://mcp.qflow.com/mcp"
    }
  }
}
If you'd rather have QAction available in every folder you open, the same entry can live in your personal VS Code settings.json instead:
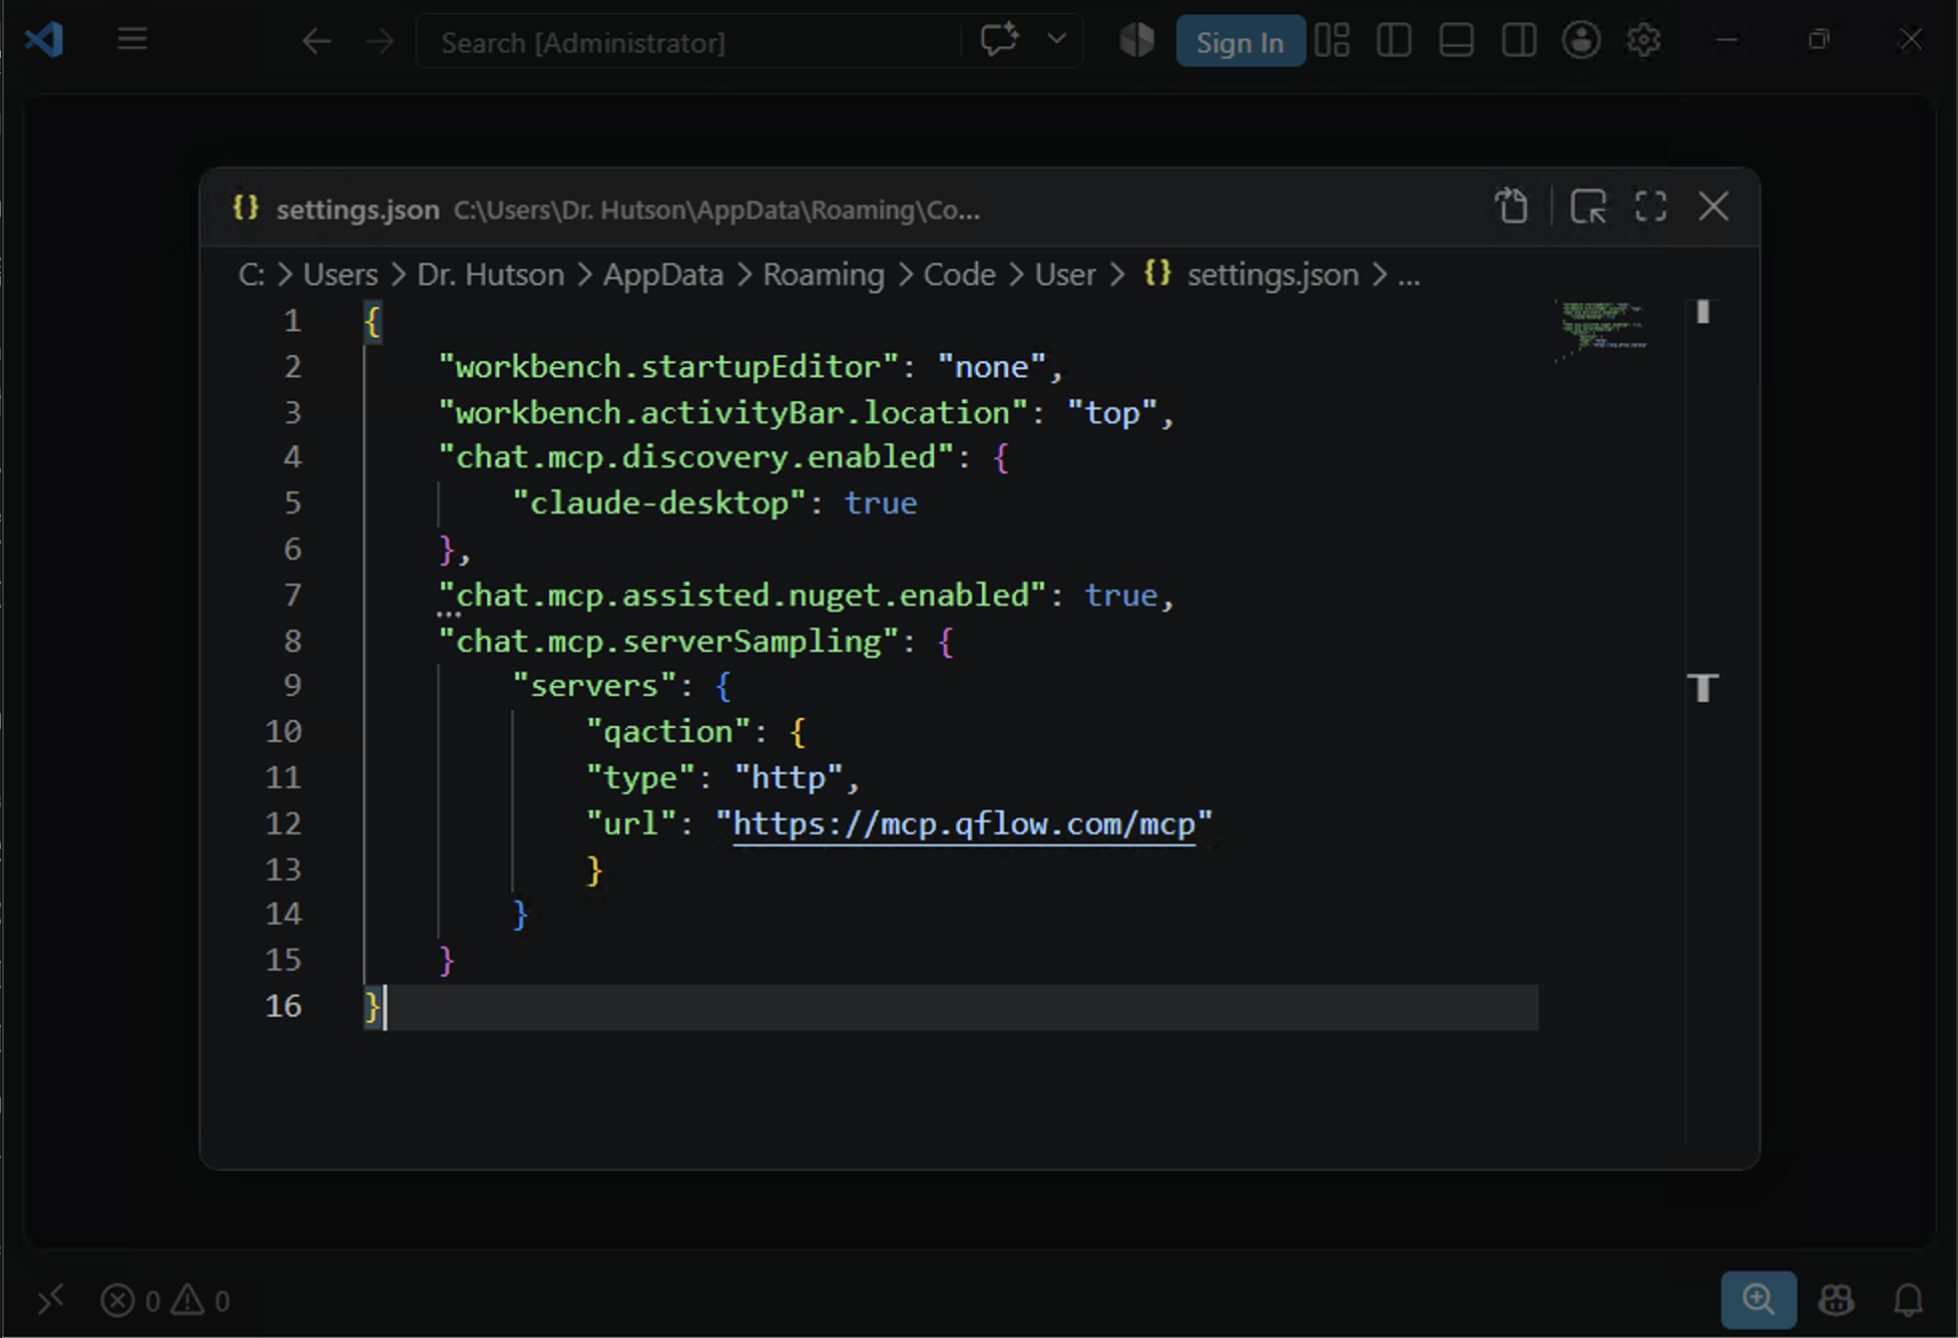
Your sign-in token is not stored in either file. VS Code keeps it in your operating system's credential store, so the mcp.json file above is safe to commit to source control or share with a colleague — they'll be prompted to sign in as themselves.